
All of us who buy the operating system OS X Mountain Lion As soon as Apple put it on sale in the Mac App Store we can install it on as many computers as we have simply by entering our Apple ID and password. At this point, the Mac connects to the Internet and start downloading 4,43 GB system until after a while the installation begins.
The problem comes when you want to do a clean installation from scratch but without having an Internet connection or simply to have it saved in case the flies or you even want to install it on other Macs. With this post you will learn to create a bootable or bootable pendrive for like this have a physical copy of the System.
What we need to do the task is to have the file that contains the system and a pendrive of at least 8GB. Keep in mind that all this tutorial must be done before installing the system, since when the system is installed, the installation file that contains what we want is self-destructing.
We start with the steps:
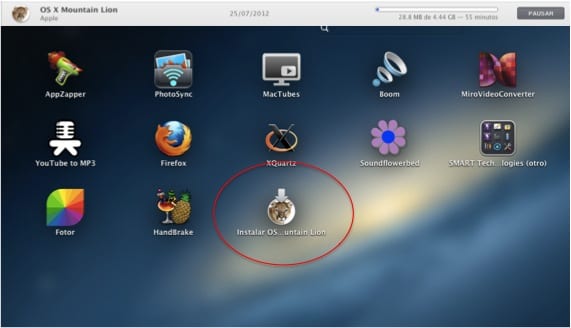
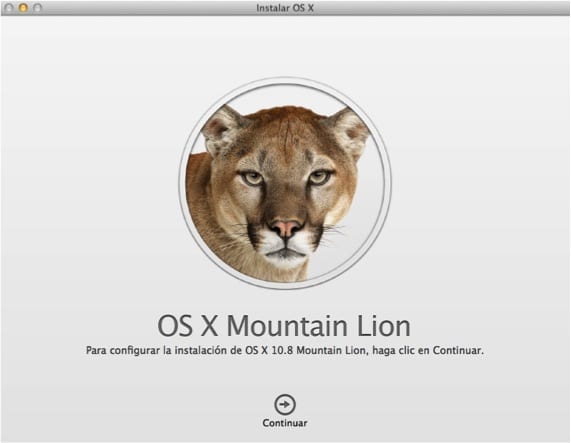
- Download OS X Mountain Lion from the Mac App Store. When the download is finished we cannot give it to install. If you did it by mistake, to be able to download it again, press the key "Alt" or "Option" while clicking the button "Installed" OS X Mountain Lion on the Mac App Store.
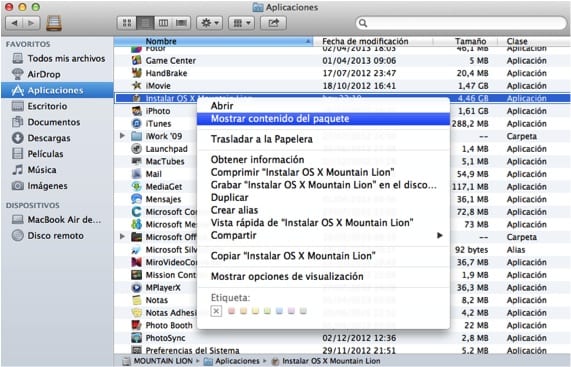
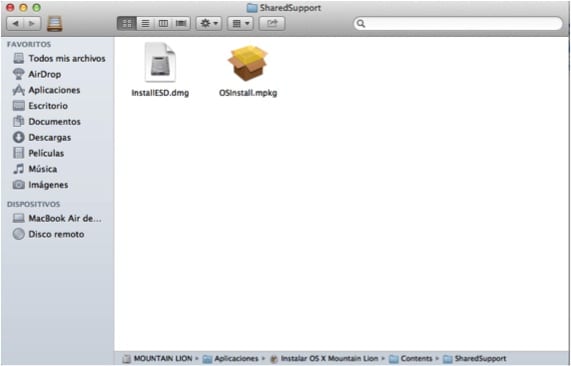
- Once we have the installer downloaded on our Mac we go to the applications folder and look for the file "OS X Mountain Lion Installer" . Next we give the mouse right click and select "Show package content" and we go to the route Contents / Shared Support to find the file InstallESD.dmg. That is the file that we are going to use to create the bootable pendrive.
- The next step is carried out within the tool disk utility, which is located in Launchpad / OTHERS. When we enter the disk utility, we look in the left column for the pendrive in which we are going to make the copy. We continue the process by deleting the pendrive making sure that the format we put in is Mac OS Plus format (Journaled), We must also put a name to our pendrive, such as MountainLion. We continue, verifying in Partitions / Options that the option is selected GUID partition tables (so that it can boot as a bootable hard drive). To finish, let's go to the tab Restore and once there we have to select our pendrive where it says "Destination" and open the file InstallESD.dmg for once I do this drag the mounted image to the space where it says "Origin".
- The next step is to hit the button that says "Restore". The process takes between 15 and 30 minutes, this varies depending on the Mac we have.
With this we would already have a physical copy of OS X Mountain Lion to be able to install it in as many Macs we want. To do this, what we do is hold down the key "Alt" or "Option" when we turn on our Mac to boot from our pendrive that we have just configured and with the name that we have given before.
More information - Format a pendrive with FAT or exFAT system.
As a bonus, once we have the installer downloaded, there is an application called Lion DiskMaker that automatically creates the bootable image in a memory or hard disk partition, it works for Lion and Mountain Lion and is completely free.
Thanks for your input Alex!
and where do I download that? Why do I go to the app store and nothing appears