
There is an option that not all users know and that allows us to carry out an organization to our liking in the System Preferences on our Mac. Obviously, many of you already know the way in which we can move around, order by alphabetical order or even hide the options if we never use them, but today we are going to show it for all those new users or simply for those who did not know this option.
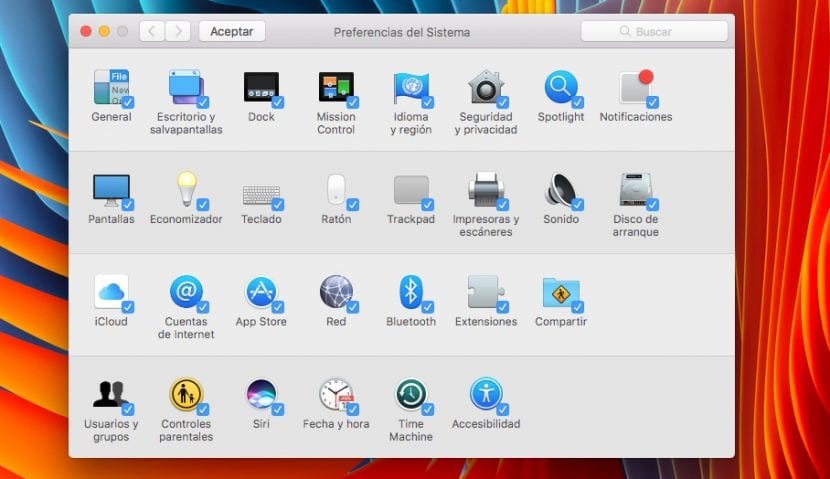
The first thing we have to do is on our computer, either through the menu or directly from our Lauchpad. Once we have the window open we go to the upper options menu and click on the option Display. In it we will find the option Customize now, click and a check will appear directly next to each of the available tools. This allows us to hide these options that we do not use on our Mac and once we have unchecked the ones we don't want (removing the check), click on OK and that's it.

Now the applications that we have unchecked do not appear directly in the window when we open it. If we want to have them visible again we simply have to perform the same steps but in reverse, we open System Preferences> Display> Customize and we mark them again.
Another option available is to organize the tools directly By categories, which is how they come by default or by Alphabetical order. In any case, it is about adding our touch in this preferences panel that we use so much to perform tasks on our Mac.