diskwarrior is a little used but very effective application for maintenance of Mac OS X, its main function is to prevention and recovery of damaged Mac OS hard drives.
Keep your Mac up to date with DiskWarrior
By this we mean that if there is evidence of any failure regarding reading of discs o directory failure... DiskWarrior launches a process of reconstruction of the directories starting from scratch leaving aside the option to patch the errors as other applications do. According to its developers, they advise using it at least once a month, stating that with this you will be able to notice a improvement in performance of your Mac.
We have to advise that DiskWarrior es self-starting from your own DVD with which it can be used in cases where the computer does not start itself. It should be noted that if you have the DMG file, you can use it by booting from an external hard drive that already has the operating system installed Mac OS.
How to use DiskWarrior?
-
If you can access the menu on your Mac:
- Enter the DVD self-starting DiskWarrior, Pen Drive DiskWarrior o External disk with operating system installed.
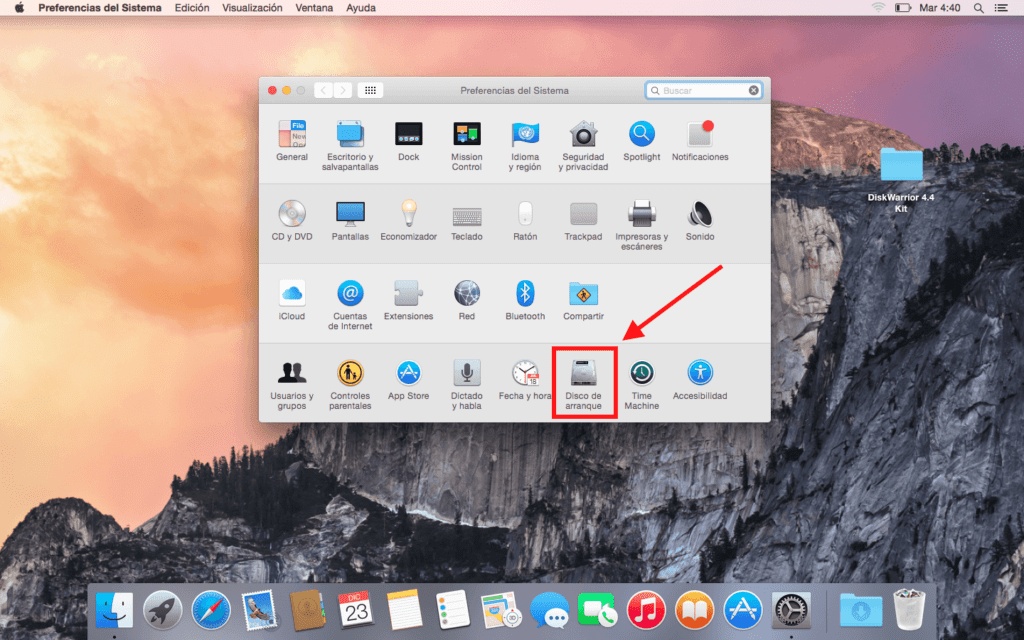
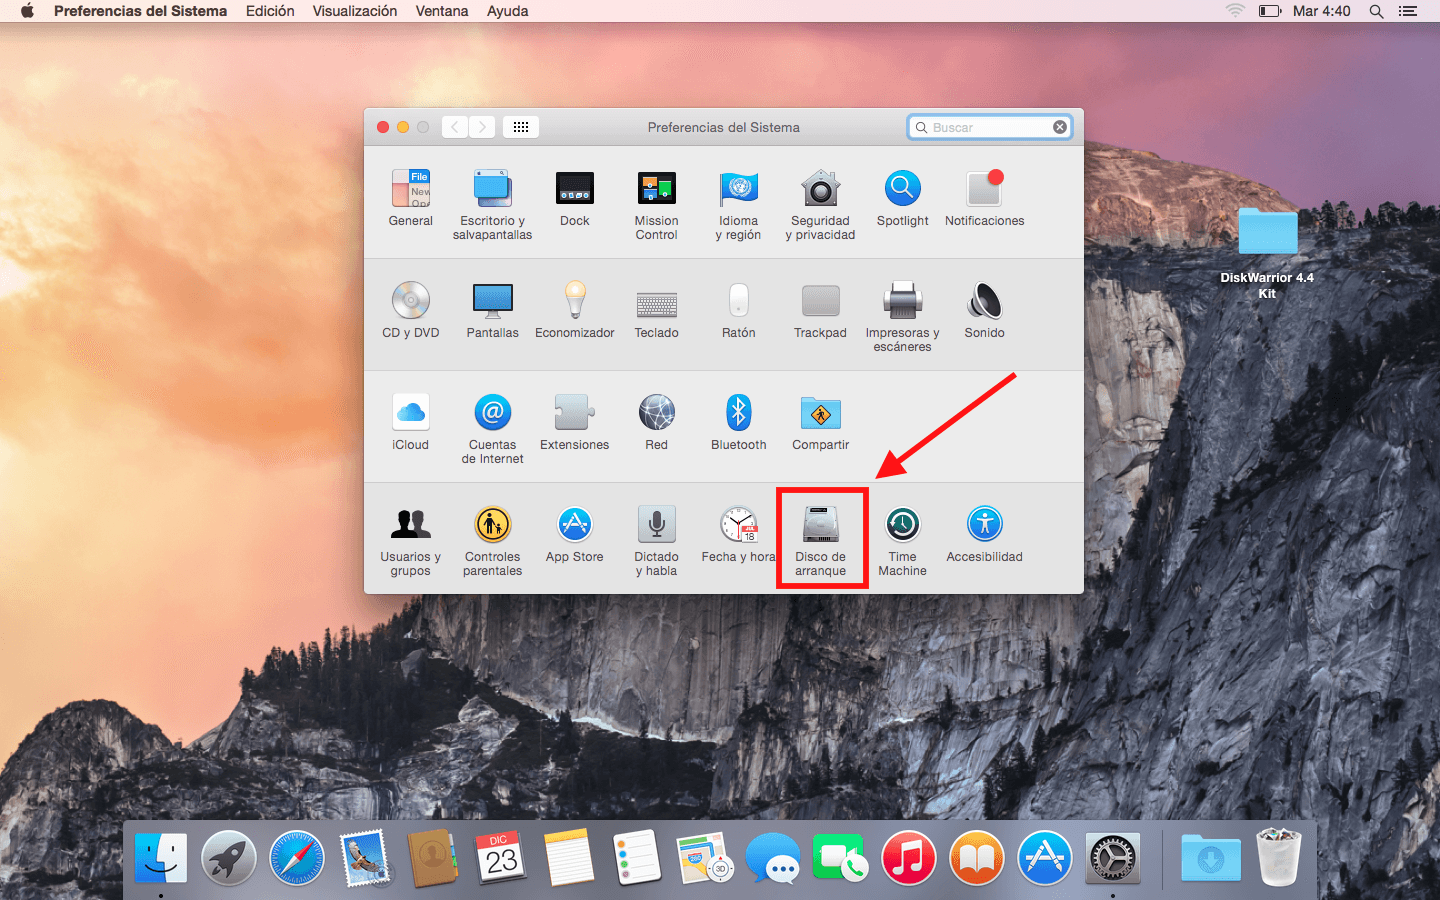
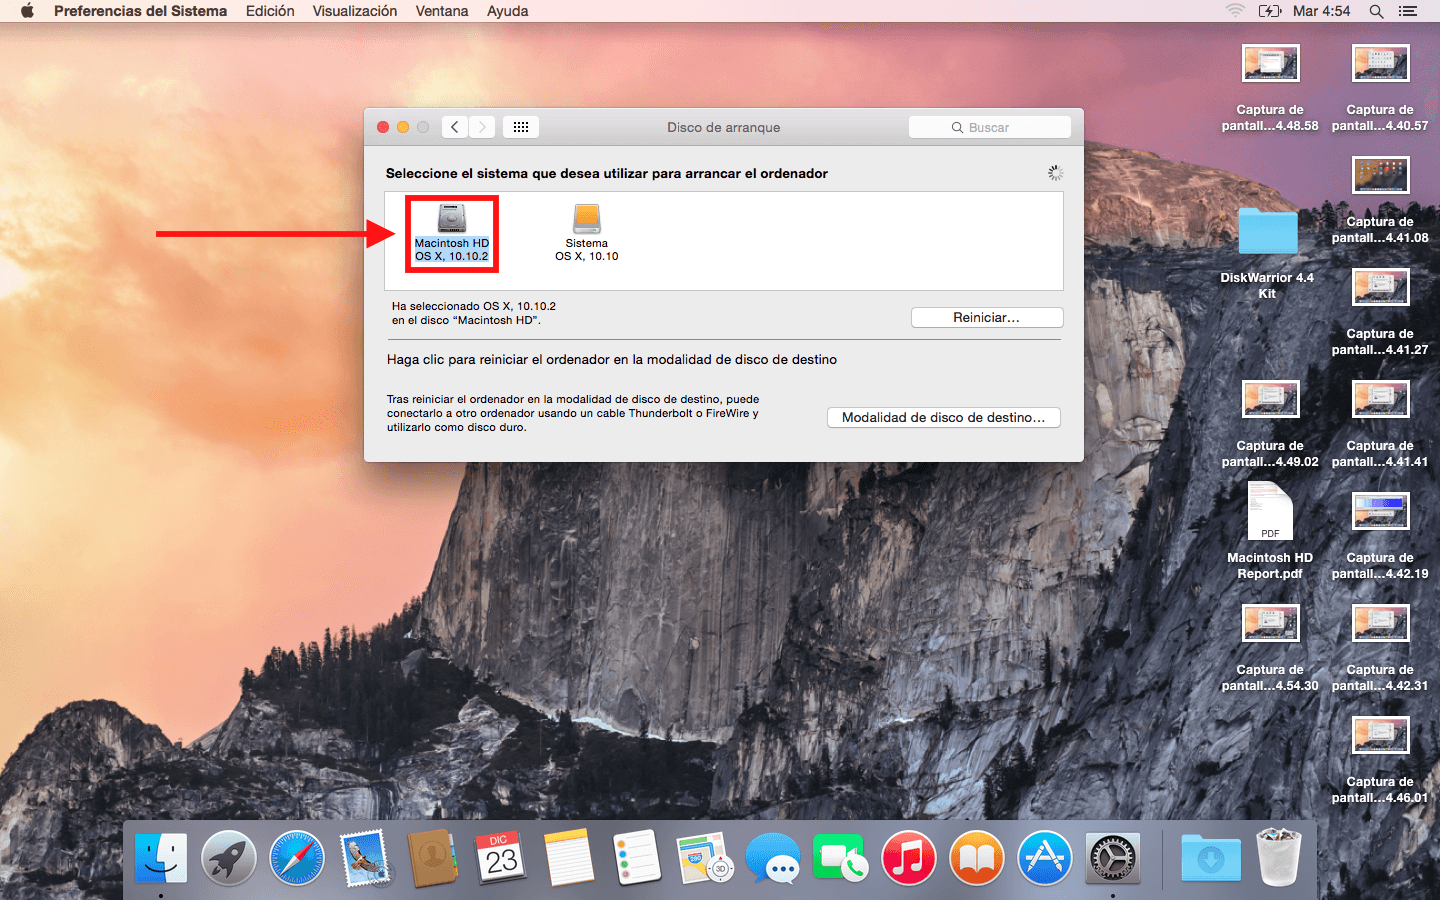
- We seek the option of Boot disks, which we can find in System Preferences / Boot Disks
- Once we have selected the Disc we want to start with, click on Restart, in our case the disk that we will use to boot will be System.

- Once the Mac again we will have on screen the menu of DiskWarrior if we have booted with the disk; if we have started from a external drive We will have to look for the installed application and click so that the following menu does not appear.
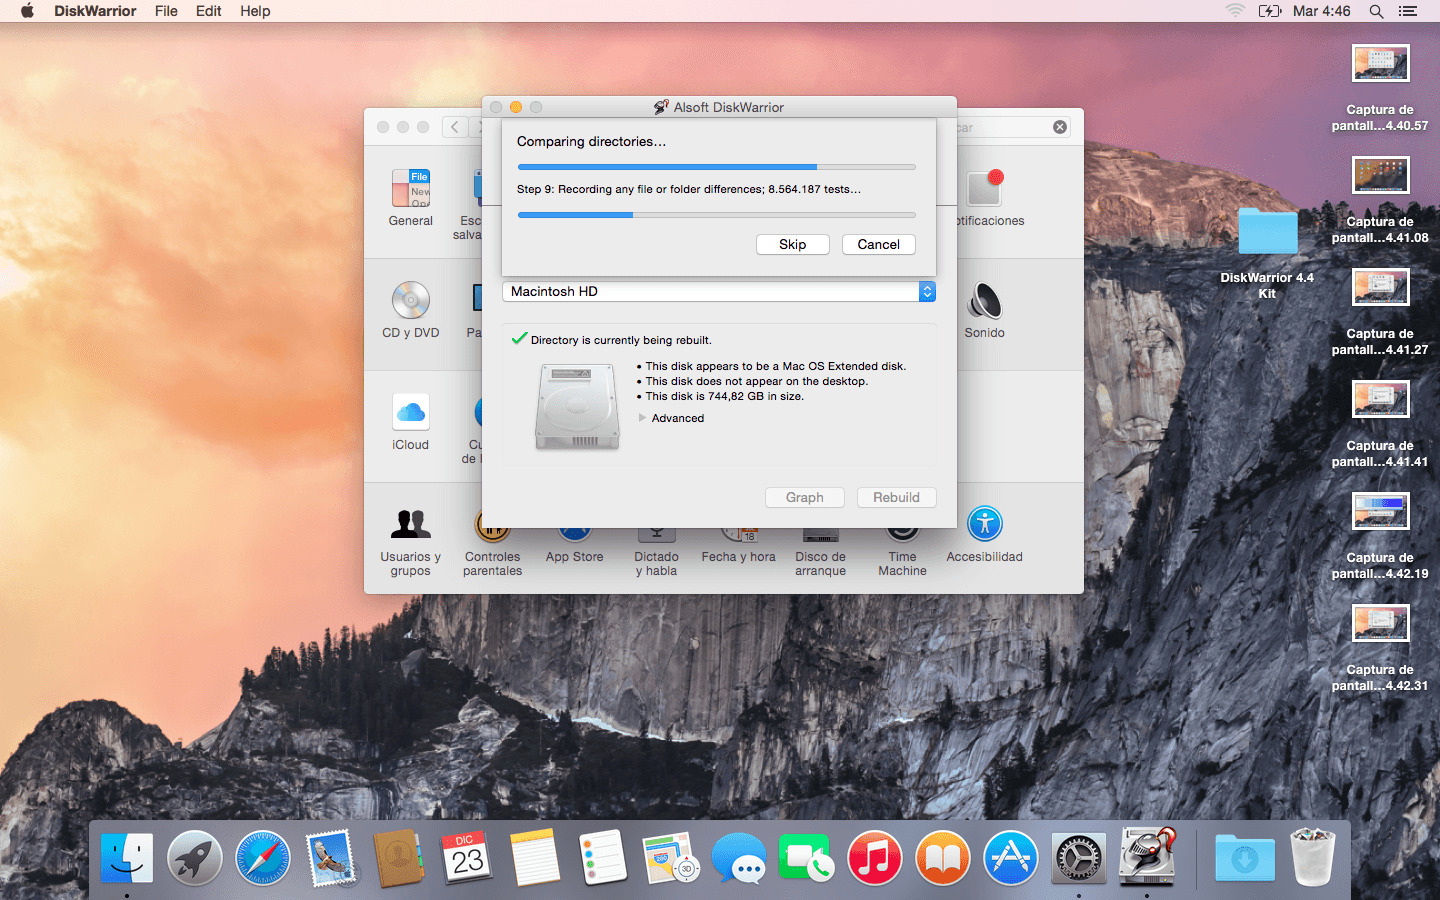
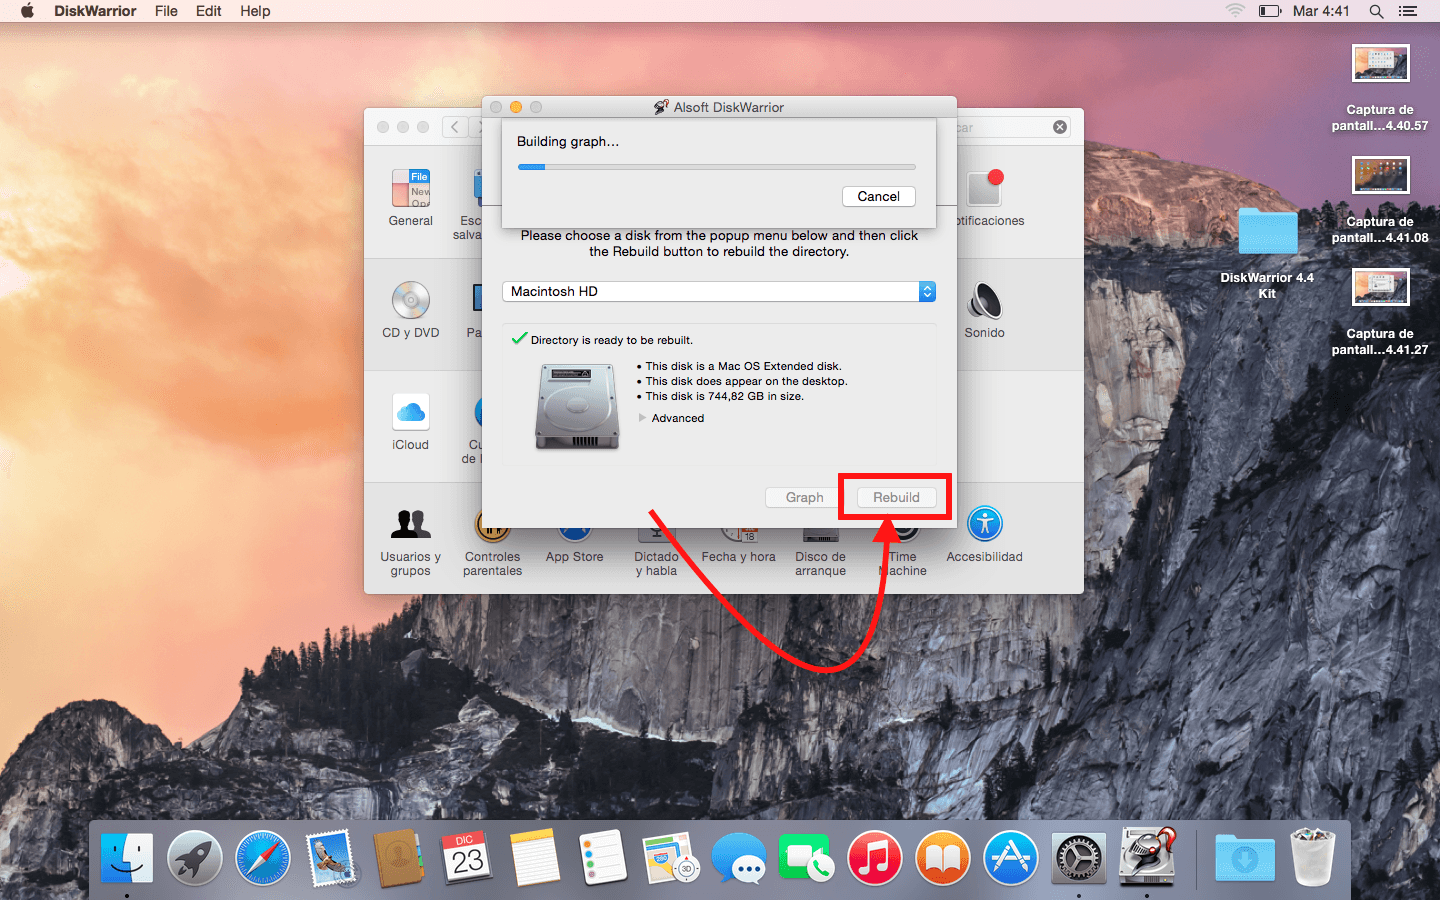
- Once inside the menu, we select the directory that we want to repair, in our case it will be Mac HD. (To make a preview of our hard drive, directory status and space we will click on Graph)
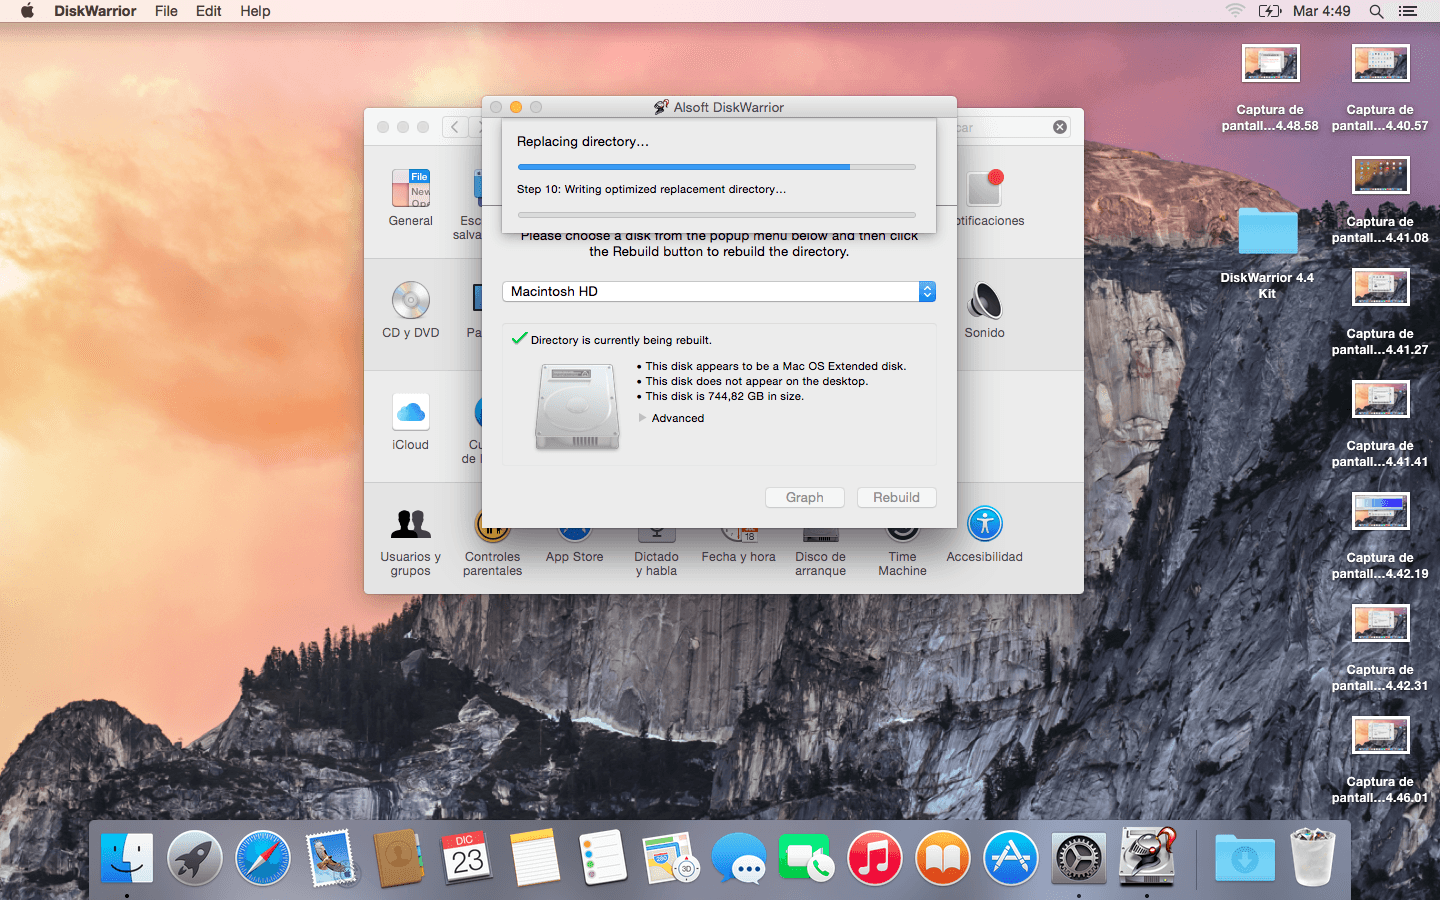
- Once we have checked the status we will click on Rebuild and we will let the tool work.
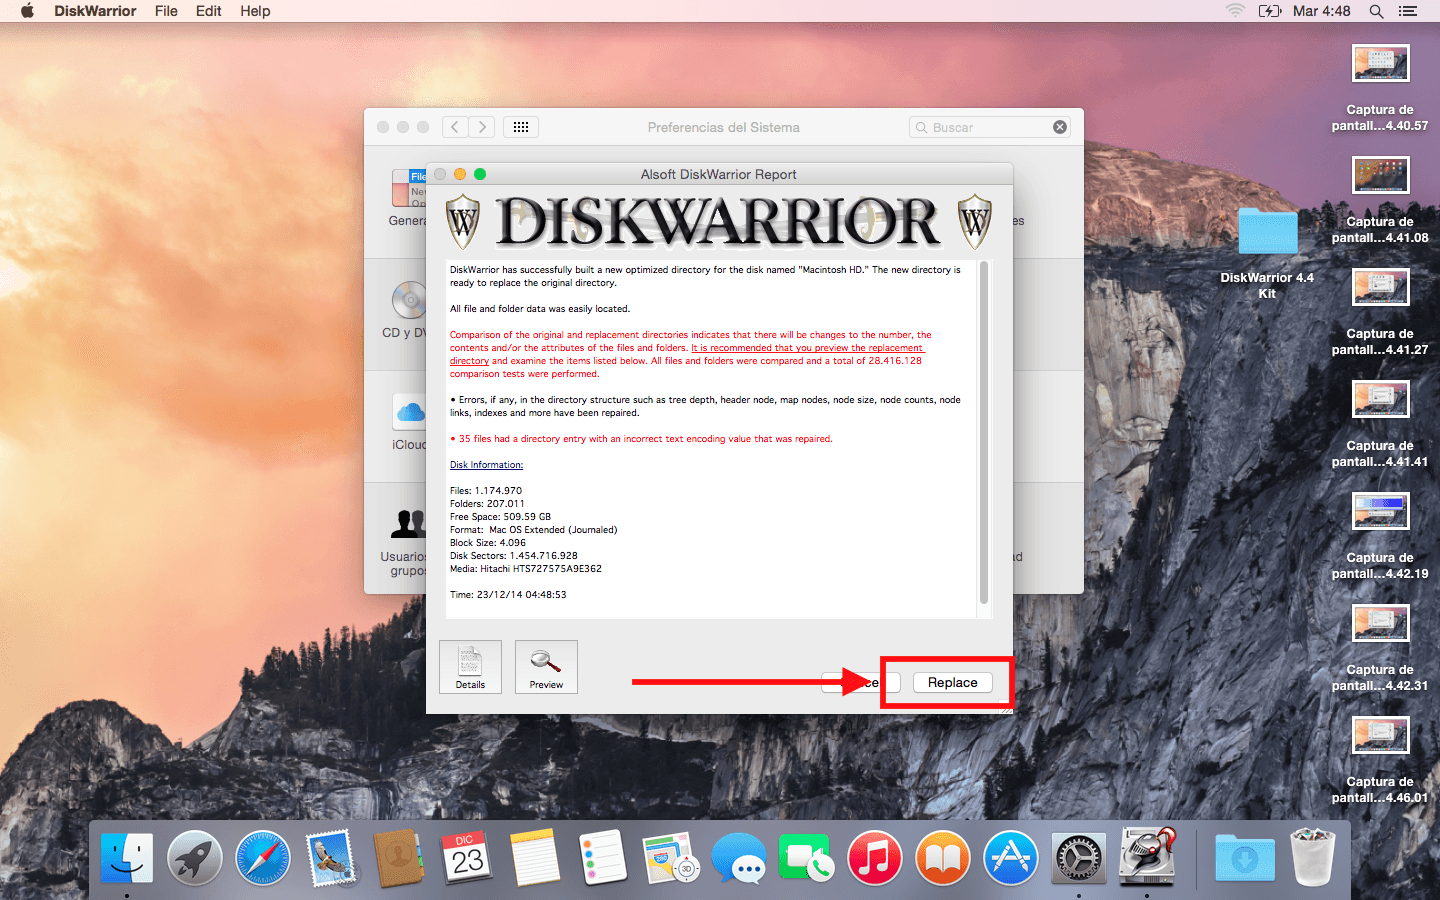
- Once the processes are finished, the following message will appear in which the different errors corrected and those that could not be corrected.
- Once all these steps have been completed, we can select the normal boot disks again and use our Mac again.


-
If you can't access the menu on your Mac:
- Will turn on your Mac pressing the key OTHER.
- You will enter your DiskWarrior and follow the same steps selecting as boot disk DiskWarrior.
DiskWarrior is a herrpayment environment that can be purchased directly from their website de alsoft with a price of 79€ approx.
If you need any clarification, from Applelised we will be happy to answer your questions. And if you liked this tip, don't forget that in Applelised We help you as much as possible to make the most of your apple devices, so you will find many more tips and tricks in our section Tutorials.
Once the article has been read and once it is considered as written, I would ask that you once and for all review the wording and use the expression "once" only once ... Spanish is too rich to give it so little use.