
Today has definitely been the day that macOS users have our new OS for Macs. After seeing how the rest of the systems of Apple products were updated a week ago, iOS, watchOS and tvOS, Today it's finally up to us Mac users.
Finally we have here the new version and it is the day of doubts about the installation on our Mac. Doubts and questions for various reasons: Will it work well on my Mac? Will everything install ok? Do I install over or remove everything and start from scratch? In short, a good handful of doubts that are common and that obviously have a different answer for each case.

The first thing is to see the compatibility of the new system with our Mac
While the Mac to be compatible with the new macOS Mojave Do not have a single doubt to update. This is something that does not even arise when our team has the possibility of updating, it is always the best option, we will be more secure against third-party threats and we will receive system news. So first I will advise on compatibility and then do not hesitate, update.
Backup
We know that we are heavy with this but the most important thing once we are clear that our Mac is compatible with macOS Mojave, is to make a backup. Either with Time Machine or directly with an external disk the most important thing now is to have a "backup" of the system, so don't forget and hit it.
Upgrade or install from scratch?
Apple has been managing system updates well for years and we can say that it is no longer so important to update our Mac from scratch. Although it is true that every time we change the system and not the number (macOS Sierra, macOS High Sierra, macOS Mojave) we can install from scratch for our peace of mind. I repeat, this is no longer so important today and it is more due to the desire you have to do this installation from scratch than to eliminate bugs or problems from previous versions.
My personal recommendation if you have time and possibility is that you install from scratch in each new version, but I already say that this it's more of a personal habit than a "you have to do it" yes or yes. The current macOS are similar systems and therefore it is no longer necessary to carry out this installation from scratch on our Mac since system changes are usually minimal. Of course, if we have not carried out an update from scratch for many years, we can do it, which is not so complicated.
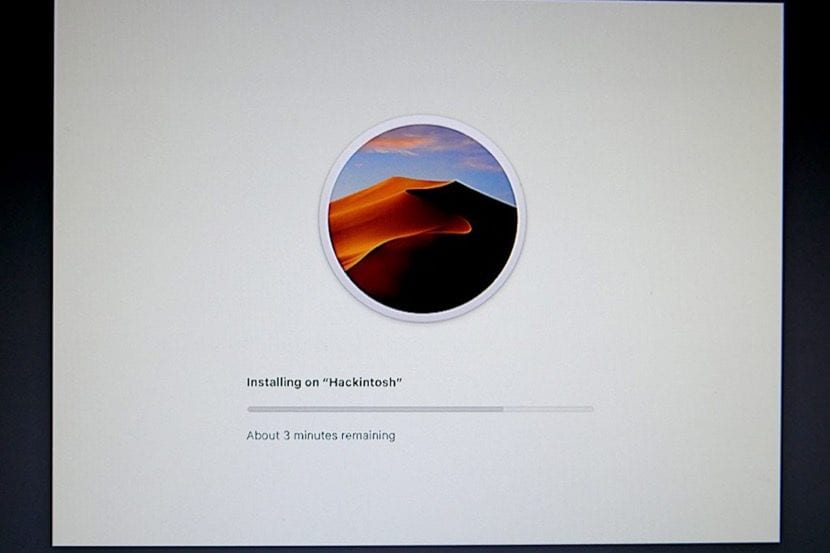
How to install macOS Mojave from scratch
After this the clean installation of the system is really easy to do. We can use two ways to perform the clean installation, through Terminal or through Diskmaker X, in this case what we are going to do is from Terminal. In both we need an external USB or an SD card of at least 8GB, In the case that it is a USB stick, keep in mind that it is of quality is important to carry out this process. Nothing happens if it is an advertising USB or similar, although it is always better to have a good USB for these cases.
- We download macOS Mojave from the App Store and when you open the installer we close it
- We look for it in the Finder> Applications and click the right button on the installer icon
- We give to Show Package Contents> Contents> Resources and we go on
- We open Terminal and write sudo then press space
- We drag the file createinstallmedia from the installer to Terminal and type –Volume (in front are two hyphens with a space between them) followed by a space
- We now connect the USB (which we have previously formatted to macOS Plus with registration)
- We drag the volume from the USB to the Terminal and write –Applicationpath (in front are two hyphens with a space between them) and press space
- From Finder> Applications we drag macOS Mojave to Terminal
- Press Enter and then Y (Yes) to start the process
- And that's it!
Hello good evening. Does anyone know if a new iMac is coming out?
Dear, you are missing a dash in step 5 –volume
Sorry, it's the source of the page that brings them together… - -volume
following the steps, it tells me: WARNING: "–applicationpath" is deprecated in macOS 10.14 and greater. Please remove it from your invocation. Volume is not a valid volume mount point. What is it??
You have to put "two separate hyphens" the source puts the hyphens together as the "guest" says above in another comment.
All the best
Or start in Recovery Mode (cmd + r) erase everything and install from 0
If you are going to "clarify" details, in the comments area, better modify your article. They only cause confusion.
Hello, how are you? I have an iMac from mid-2011 and downloaded the Mojave disk through the official website but when I open it, it comes out as a box that says this SecUpd2020-001Mojave.pkg I right click but it does not appear. What do you say show package content ????