It took a little longer than expected to be launched and the rest of Apple's operating systems such as iOS 14, iPadOS 14, watchOS 7 and tvOS 14 have already been available for installation a few days ago. In this case macOS 11 Big Sur was left in the pipeline by Apple's decision and now it is available for all users to install on their Macs.
The new version of the Mac operating system not only changes the number, macOS 11 comes with many new features and it is important to update if you can, since the new version greatly improves the version of macOS Catalina. Be that as it may, now you can install the new operating system so let's see how to install this new Big Sur from scratch, no backups or anything like that.
Check that our Mac is compatible

In this case, the macOS 11 Big Sur version leaves out some equipment and that is why it is important first of all check that our team accepts this latest version of the operating system. You can check it in the list below and once we have verified that our Mac is fully compatible with the new version of the operating system, it only remains to get to work.
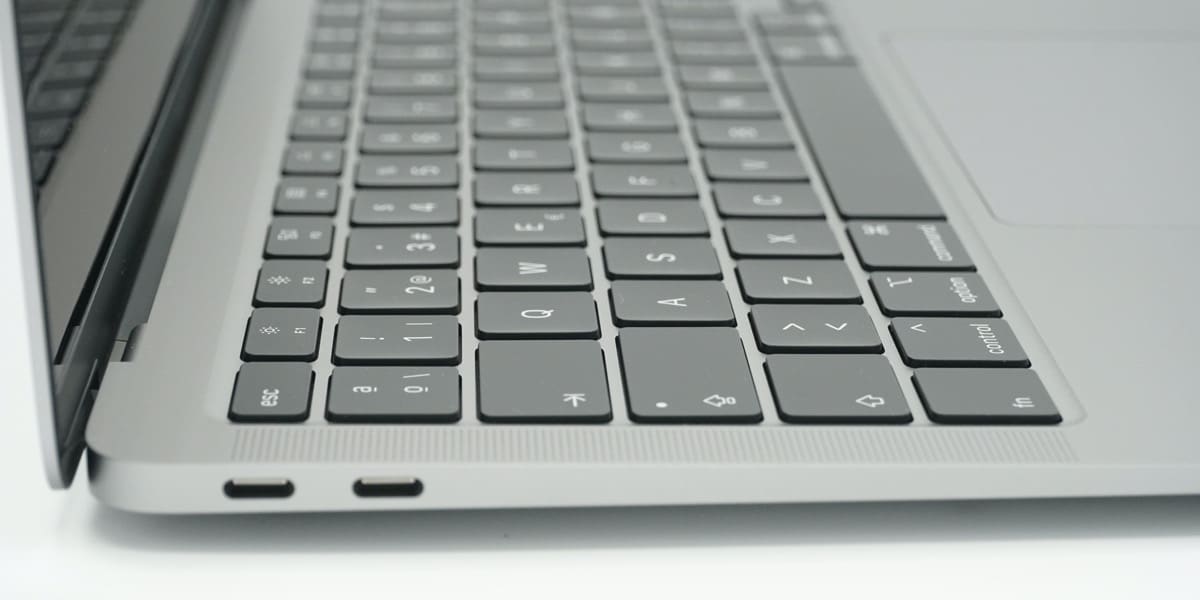
- MacBook 2015 and later
- MacBook Air 2013 and later
- MacBook Pro 2013 and later
- Mac min 2014 and later
- 2014 and later iMac
- IMac Pro from 2017 to current model
- The Mac Pro in all its versions since 2013
Another detail to take into account in this version is that having updated the application theme to 64 bit It is important to check if the apps and other tools we use are compatible with the new macOS. This point is key in the process of both updating and installing the new macOS from scratch and in the event that everything is in order we can follow the steps.
Backup to Time Machine

It is always important and although we do not have to restore anything later to do the installation from scratch, it is important to make a copy of our documents, photos, files and others. Have a "backup" of the system It can be of great help to us in case of problems, so don't forget and make a backup copy just in case you need it.
Create your own macOS 11 Big Sur installer (Recommended)

Clean system installation it is really simple to carry out but we cannot skip any step. Two ways can be used to perform the installation from scratch on our Mac, one of them is by directly deleting everything, through Terminal or through an internet connection.
In one case we need an external USB or an SD card of at least 8GB better if it is 12GB and in the other it is best to have a good fiber connection so that the download is as fast as possible. This will also depend on the Apple servers and the people who are simultaneously downloading the new version of macOS 11 Big Sur, so be patient.
Personally we recommend using a USB as this way we have the installer in case we want to "use it on other computers" that are supported or not. If you can, try to avoid an advertising USB or similar as they can cause us problems when installing, although they also work, it is always better to have a good USB or a disk with USB C for these cases.
Before launching into the installation we recommend that you read the steps well If you have never done it before and after reading it a couple of times, start doing them. It is important to be clear about what we are going to do so let's start:
- First we need to download macOS 11 Big Sur so we access it from the Mac App Store on a Mac that does allow its installation. Once downloaded we will NOT install it, we leave it downloaded and close the installer
- Without opening the downloaded file we connect the USB or external drive and we rename it BIGSUR
- Now we write or copy this in Terminal: sudo / Applications / Install \ macOS \ Big \ Sur.app/Contents/Resources/createinstallmedia –volume / Volumes / BIGSUR –nointeraction
- Remember that BIGSUR is the name of the connected external drive that we have previously inserted and it is very important to edit the scripts when copying in Terminal are two separate scripts. You can use whatever name you want
- It will ask for our password and it will erase the contents of the external drive, we click on "enter" and the creation of the boot installer will begin, which may take time.
Right now what we have to do is be patient. Once everything ends and without disconnecting the USB from the port of our Mac we restart the equipment and when the «chan» sounds, we put the key (Alt) «option» to select the external memory. We look for the macOS Big Sur installer and click on it to install.
The equipment that has the T2 chip may require the cmd + R combination to enable booting from an external drive. In this case, once pressed, we have to allow the start and that's it.
Now we just have to wait for it to carry out the installation process automatically on our Mac, follow the steps and enjoy the new macOS Catalina. It is important to be patient and not be in a rush to carry out this type of installation from scratch, the process may take several minutes so calm down at the time of installation do not want to run.
Download and install directly from the internet

This option is somewhat simpler since we only need a network connection to install the new version, it is not the one we recommend but it can also be useful. This method is to erase the entire macOS disk and force recovery mode. For this we have to turn off the Mac and when I restart we have to press Option (Alt) + command (CMD) + R keys
Once the complete disk is eliminated we have to click on the Profit Share and in it we will be able hit macOS Recovery mode via Internet. In this way, what the team will do is download and install macOS 11 Big Sur quickly and without the process of creating a USB using Terminal.
It is possible that with this option you will see a previous version to install and in those cases it is best to use the installer option explained above. It does not usually happen but there are cases so in this sense it could be useful to install directly from a USB as we showed previously.
Once this process is done, what is recommended for everything to work well is to restart the computer. In any case, the important thing is to be clear that it takes time and it's not a few minutes update so calm down be patient and wait for the process to finish.
On the other hand, it is important to remember that for installation on MacBook it is recommended have the equipment plugged into the charger To avoid problems, in the update step it is indicated by the system itself, but if we perform the installation from scratch even if the system does not say so, it is best to connect it to the network to avoid problems.
The best system for us is the one created by the external installer, since in this way we have a physical option in case of having to install this system on other computers with problems.
Hi there; When I open Safari the icons change in size at least three times, until they are finally fixed, I have a MacBook Air 2019, is this natural or is it missing some tuning?
Thank you.
Good day:
at the time of making the bootable USB it tells me that APFS is not a boot format. But it won't let me format different. APFS only; APFS (encrypted); APFS (shift / minus); APFS upper / lower (encrypted), and now