With the arrival of OS X Mavericks came the Web Push Notifications They show us in the form of notifications of new posts on our favorite websites and blogs. Now, more than a year later and with the new OS X Yosemite Already at full capacity on our Macs, it is possible that we have accumulated so many notifications that it is even annoying to us since many of these sites no longer interest us. Today we show you how to manage these notifications in OS X Yosemite.
Managing Safari Notifications
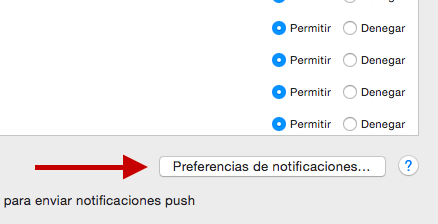
Manage the Safari web push notifications that is, deciding what appears and what stops appearing is really simple. Just go to the "Preferences" of Safari → Notifications and click on "Allow" or "Deny" on each of the pages from which we receive these notices to continue receiving them or not.

You can also directly delete any of these pages by selecting it and clicking on "Delete". And in addition, you can opt for a radical measure: "Eliminate everything." To do this, press the so-called button that you will find in the lower left. By doing this you will receive a message when you visit this page again requesting access to the web push notifications and at that moment you can accept or deny.
Decide when Safari Push Notifications appear
In addition to choosing from which pages you receive notifications and which ones you do not, you can also manage when you do not want to receive them through the mode Do not disturb. To do this, click on the "Notifications Preferences" button that you will find at the bottom right.
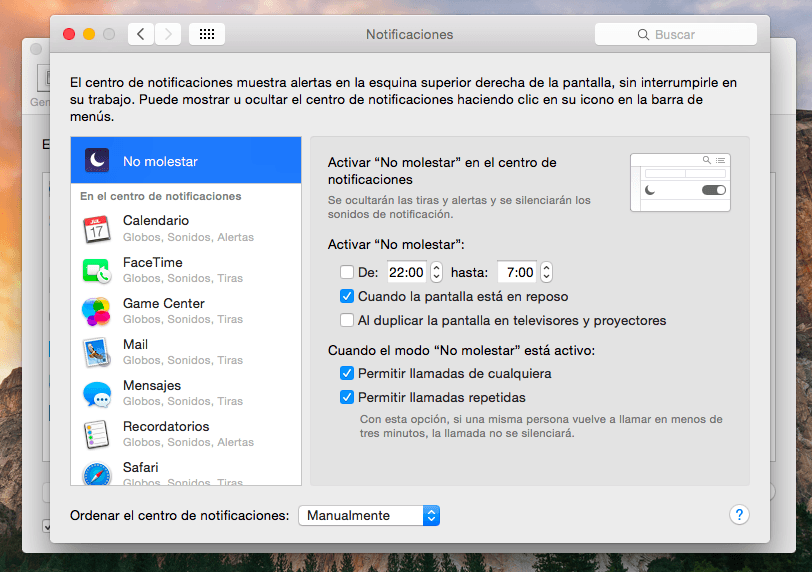
Then a window like the one you can see below will open where you can manage the hours of the day when you do not want to receive any of these notifications, or when the screen is idle, or when the screen has been mirrored when used on televisions or displays. In addition, with the "Do not disturb" mode activated, you can decide what kind of calls, despite everything, may appear.
Remember that in Applelizados you can find many more tips and tricks like this one for Mac, iPhone and iPad in our section on Tutorials.