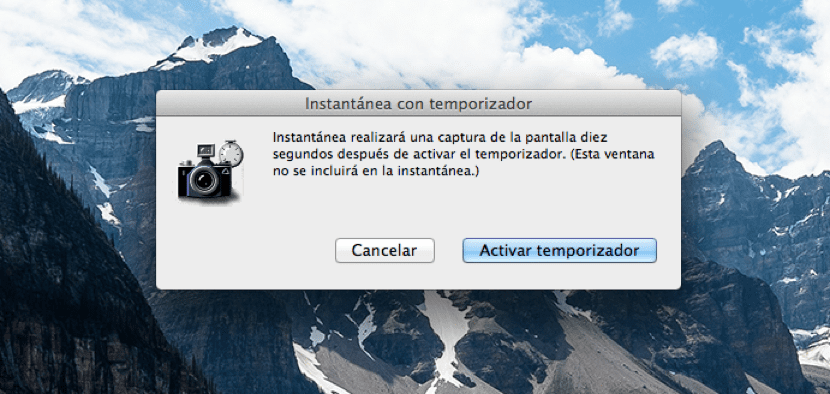
This is another of the functions that many of us surely overlook because I do not think they are used frequently, but it is always good to know that they are there and that we can use them whenever we want. Is about take timer screenshots as if it were a digital camera.
Last week we saw how some options available in the screenshots and this is another option that we have natively in OS X and to activate it we have to follow a few simple steps either from the Finder or from the Launchpad. So let's see after the jump how to make these timer shots.
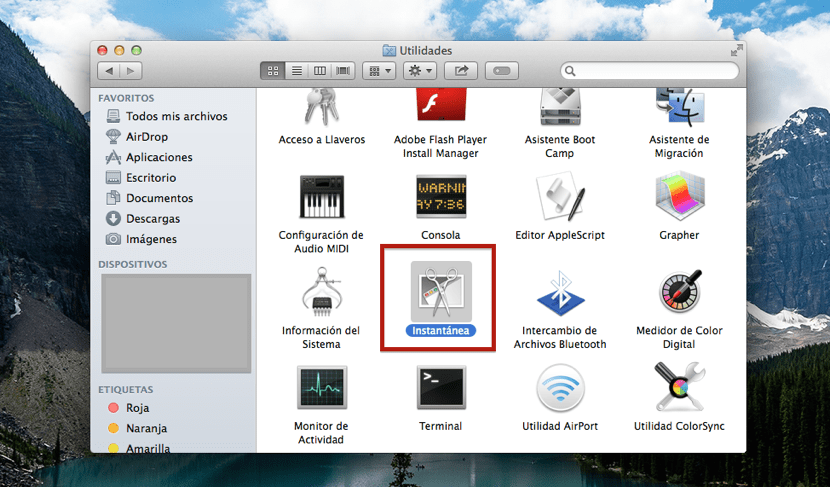
The first thing we have to do is access from the Launchpad to the folder Others, in it we find the tool Snapshot which is what allows us to make this capture with a 10-second timer. But we can also access the tool from the Finder in Applications - Utilities - Snapshot that is already the choice of each one.

Once the application is open Snapshot or we perform this key combination: shift+cmd+Z to launch the timer automatically or click on the top menu bar Capture and then we select Timer display. Once the capture is made, it will ask us whether or not we want to save it and where, so we only have to do the test on our Mac and take advantage of each and every one of the options that we have available in OS X.