HDR stands for High Dynamic Range and works by capturing three different exposures of the same image which are then combined into a single image. This can be very useful when your subject to photograph includes a wide range of lights and shadows and you want the details of the darkest parts of the photo to be seen without overexposing those lighter parts
HDR on your iPhone
Selecting, or deselecting, this mode is as simple as doing it from the upper menu bar of your camera application. iPhone; choose HDR on or HDR off to activate or deactivate their use respectively at the time of take a picture. You can also select the mode Auto HDR if what you want is for the iPhone's own camera to determine whether or not it is appropriate to use it at all times.

If you want to be able to compare the differences between normal photographs and HDR, go to Settings → Photos & Camera, scroll down and activate the "Keep normal photo" slider before you start taking photos. Both versions, the HDR and the non-HDR, will be saved on the film of your iPhone and so you can compare them.
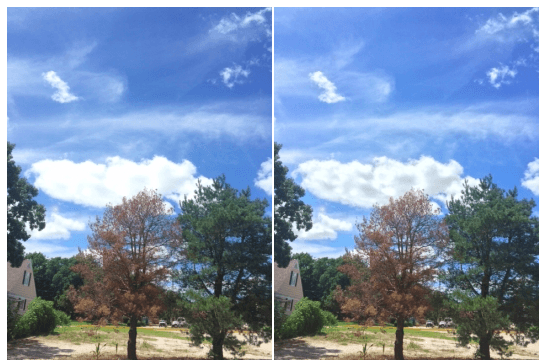
As they teach us from iPhoneLife, iPhone's HDR mode is a bit weak. You can barely notice a difference between the High Dynamic Range image (right) and the normal image (left) but you can still see that the clouds in the image on the right are much lighter.
SOURCE | iPhone Life