
Today we bring you a tutorial that will help you configure the zoom on your Mac so that using the mouse, trackpad or keyboard you can make a zoom meeting of a part of the screen when you need it.
As you know, OSX is an operating system riddled with small details that when you discover them, the user experience is richer.
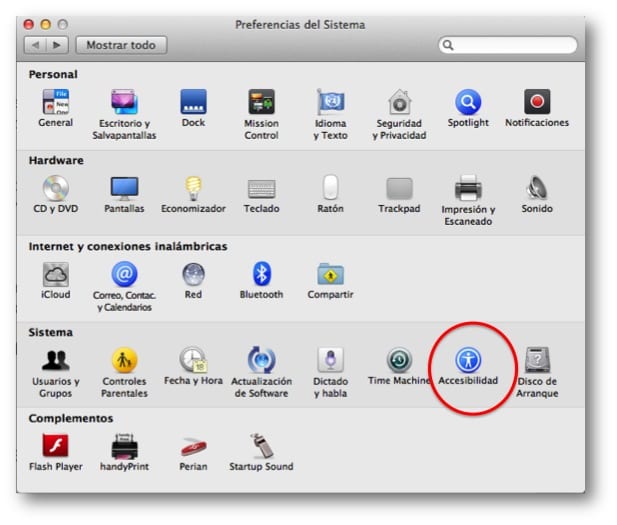
One of these characteristics comes from the hand of zoom function, which we can use in a very easy way. In this case, in order to use it, what we have to do is activate it. For this we go to "system preferences" and inside we click on the "accessibility" icon. Once inside accessibility, in the left bar we choose the “zoom” section and the following window appears, which is where we are going to configure the option that we are explaining.
As you can see, we have the possibility to configure the key that we must press so that when we scroll with the mouse or move two fingers on the trackpad, the screen is zoomed. You can also tell it to smooth the resulting image and to zoom follow the keyboard focus.
However, if we look closely, on that same screen we are also allowed to configure the zoom using keyboard shortcuts. As you can see on that screen, the keyboard would have the following functions:
Alt + Command + 8: Enable or Disable Zoom
Alt + Command + =: Zoom In
Alt + Command + -: Reduce Zoom
Alt + Command + /: Disable or enable image smoothing
More information - The PhotoZoom Classic 5 application with an interesting discount
I think they have put the preference photo that was not xd
by the way very interesting tip