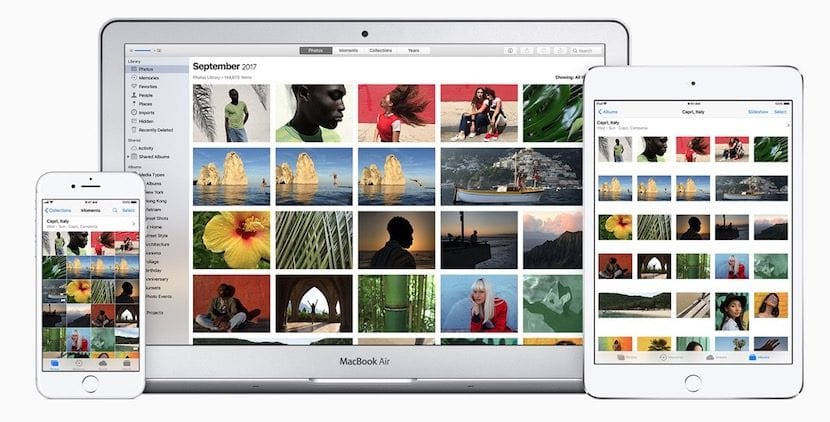
It is clear that if you master the Photos application on the Mac, you will have a good way to keep your entire photo library safe. However, with the arrival of iCloud and even more so with the arrival of the iCloud Photo Library, many are the users who will be totally lost in how this system of synchronization of photos and videos works.
The first thing we have to be clear about is that when we activate the iCloud Photo Library, everything, and when I say everything, it is that both the videos and the photos from your devices will be synchronized with your iCloud space. That is why if you want to have all that stored in the Apple cloud you will have to go through the box to increase your storage section.
However, you can keep your photos safe not only with iCloud cloud backups but also on your own local Mac. In the Photos application we can create several Photo Libraries on our hard drive, usually located in the Images folder. To do this, we just have to hold down the "alt" key and then press the Photos application icon. We will be given the option to create a new Photo Library or open the Photo Library that we deem appropriate.

When we create a new Photo Library or Library in Photos We have to be clear that only one of them is the one that can be connected and synchronized with iCloud for which we must open the Photo Library that we want, then we go to the top menu Photos> Preferences> Use as System Photo Library. From that moment, if you have content in the iCloud Photo Library, it will be synchronized with that library and what you have in that library will be merged with what you have in the iCloud Photo Library.
However, you can have several more local Photo Libraries on the Mac as containers for your photos and thus be able to enjoy the way the Photos application shows us the content. And this is precisely where what I want to show you today makes sense. If you have a Photo Library like the one on the system and you have the iCloud Photo Library activated, it is very possible that you want to have copies of certain photos ordered on your computer locally and that they are not still in the cloud. For this, the normal thing is that you create a folder on the desktop, then go to Photos, select the ones you want to save locally and export them to that folder. Then, you open the other local Photo Library that is not the System Photo Library and drag the photos to be added to it.
We have to do many steps to be able to move the images from the System Photo Library to a local secondary Photo Library and it is that at first glance Photos does not let you open two Photo Libraries at the same time on the screen to be able to select photos from one and drag them directly to the other.
Well, the fact is that if you have come this far, if you make use of a Terminal command while holding down the «alt» key you will be able to open two Photo Libraries at the same time and transfer the photographs without any complications.
For that:
- Open Terminal and paste this command: open -n -a Photos
- Don't run it until you first hold down the «alt» key
- Execute the command by pressing enter.
- The dialog box opens in which we can create a new library or open another one that we have locally.
I have read the entire article and I have understood it, but in the end when I already have the two open photo libraries, I cannot or do not pass photos from one library to another, dragging the photo does not leave me, you put that when we have the two open photos make the transfer of photos without further complication xD because I can not find the key ... to see if you can help me thanks and greetings
You guys are fucking cracks. Nowhere have I found how to do this. To organize the libraries and save them on my hard drives, it comes in handy!!!!