
One of the applications that we use daily in macOS is that of Preview, or at least I use it every time I open the Mac, whether to view a PDF, to view photos, to sign a document or to resize images among many other actions.
However, surely you have never stopped to look that Preview also lets you make a simple slideshow in which It shows you several photographs, passing them one by one with a fading between one and the other.
To be able to make a slideshow in Preview, you will only have to perform the following steps:
- The first thing you have to do is select the photos with which you want to make the slideshow from a folder or whatever is the place where you have them hosted.
- When they are all selected, you right-click the mouse or trackpad and click on Open with…> Preview.
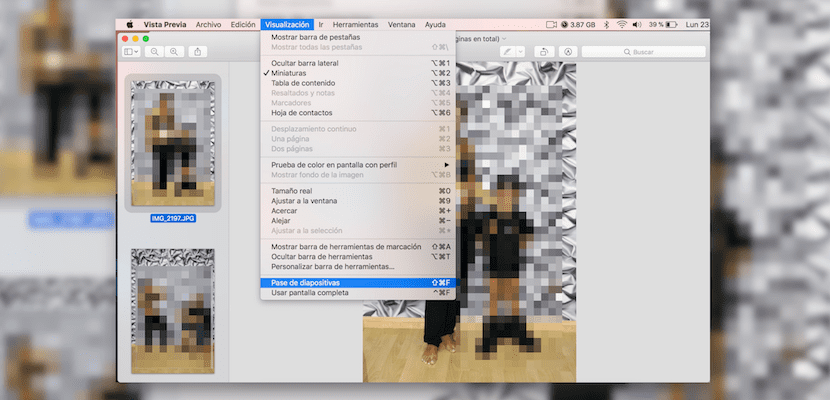
- Now it only remains to tell Preview that you want to make a slide show with the photographs you have opened, for which you just have to go to the top menu and click on View> Slide Show
The application automatically goes to full screen by filling in the gaps with black if the photo is vertical and the slide show begins with about 5 seconds of waiting for each of the photos.
It is clear that it is not a showy solution but in case you have to let images pass on the screen of your Mac automatically this is a very fast way without having to create anything.