
For those who do not know, Automator is an application that resides on our Macs from the first versions. Although for novice users, it may seem a very complete application, with little knowledge and imagination, we quickly began to take advantage of it. In summary, It is used to program processes so that our Mac executes them in seconds and that it would take some time if we have to do it with our own means. Today we will know how to join several screenshots or images in a single document, in a single PDF document with the help of Automator.
The first thing will be to run the Automator application. We find it in the Launchpad, inside the others folder. If you don't want to be inquiring, you can simply search for it in spotlight, entering automator.
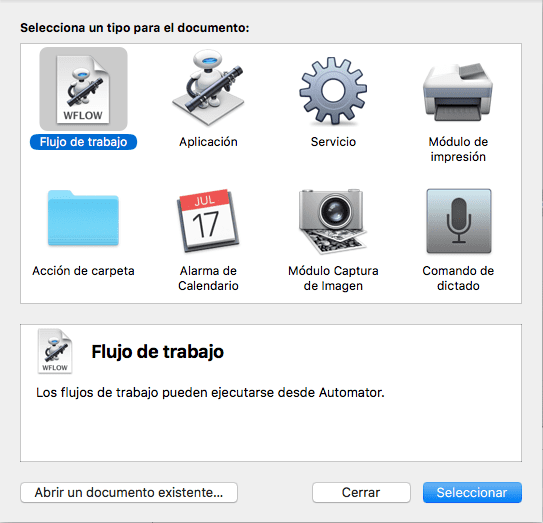
The first time it is run, a menu appears indicating which function you want to create, or open an existing document. We start with open an existing document. This function will be used when we have created a process and want to use it immediately. As we do not have processes created, we are going to create ours.
Click on Workflow and then Select. Now the usual Automator interface opens, where we see the two columns on the left and a larger space on the right. Now we must click on the first process in the first column, which will be Files and Folders from the library submenu. In the second column, new options will appear. Search and select Get the specified Finder items. Click on it and the function will move to the right.
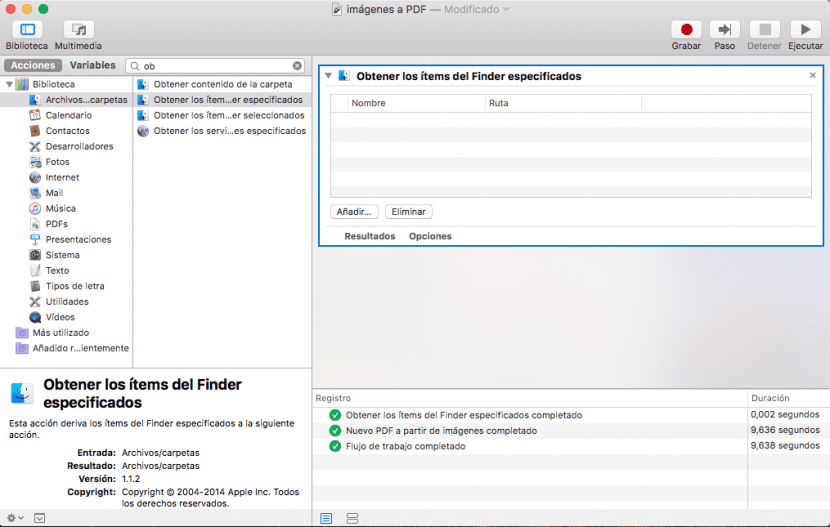
Then go back to the first column and find PDFs. When pressed, the second column looks for New PDF from images and press it again. Now you will have the two functions on the right side that was blank at the beginning.
Your workflow is created. But how is it used? Move the screenshots or images to the rectangle of Get the specified Finder items or press add and select them. Now, select in New PDF from images how you want the images to be positioned. You can choose current size, full page, or exact width. Select the function you want.
Lastly, click on run and in an instant you will have your PDF created in the selected location.