
The arrival of the new macOS Sierra and the news in the form of Siri, the renewed Photo app, Auto Unlock, clipboard and the rest of the news, the "hype" of having this new version installed on their Mac has been generated among many users. The truth and coldly seen, this coming month we are going to have available the public beta program with which we can install the first version of the operating system on our Mac and together with the rest of betas for iOS 10 and watchOS, to be able to satisfy the desire to have the new already installed.
But there are several options that allow the user to install the betas despite not having a developer account. This can be done on all Apple devices, even on Macs. Before launching to install this beta for macOS Sierra developers, read this tutorial well and do not jump into it if you do not have much experience in these topics.
It should be clarified that it is a beta version for developers and therefore it can be unstable and have certain incompatibilities with some of the applications that we use in our day to day. So first the main rationale is to keep this version out of our main operating system, this being OS X El Capitan 10.11.5. This cleared up, let's get down to business.
MacOS Sierra download
This is undoubtedly the most important step and obviously we cannot leave the download link on the web, but if we Google it we will find it. Before downloading anything what we have to do is use common sense, being careful where we get the software will avoid problems in the subsequent installation. Not all links are good, take a look.
Diskmakerx is required
This tool is an old acquaintance.
For this installation method that I personally recommend and which is based on create a new partition on a disk (be it the main one or an external one) we need this tool. What Diskmakerx does is create a USB installer and for this what we have to do is take a minimum 8GB USB stick and format it to OS X Plus (Journaled) from the tool Disk utility.
You can get this tool from your own website if you don't have it on your Mac from other times. An important detail is that the tool does not specify that it is ready for macOS Sierra, It is from OS X El Capitan, but I confirm that it works the same.
Create the installer and install macOS Sierra
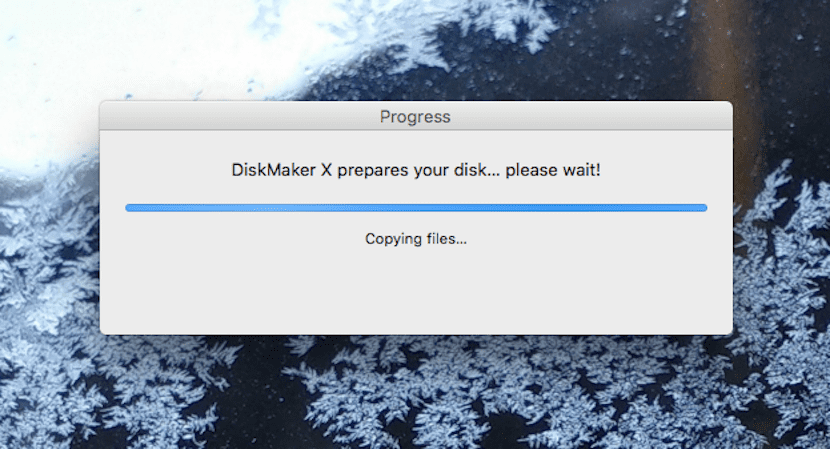
The rest is very simple and with the help of Diskmakerx it is very simple. We open Dismakerx and with the USB connected to the Mac we click on the option install OS X El Capitan, it works fine and we select in the previously made download of macOS Sierra that will be where we have previously saved it.
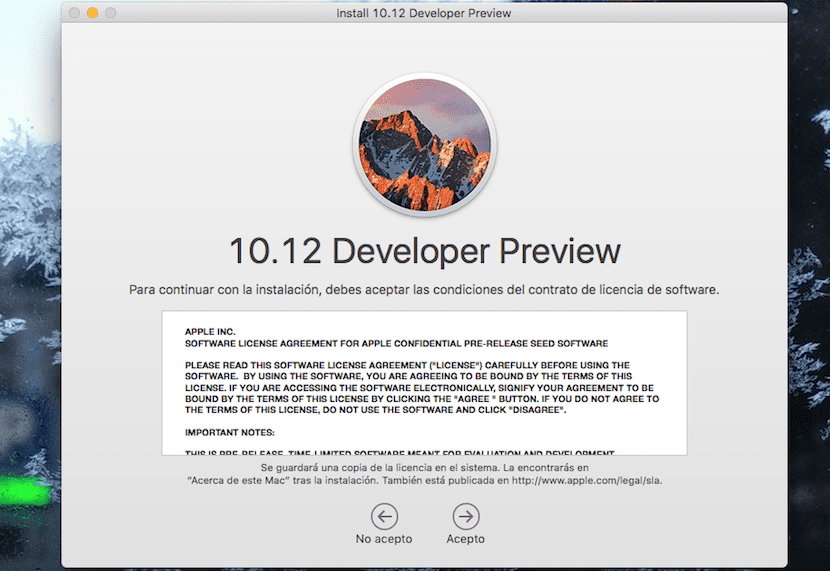
Despite having the USB formatted, when we are going to load the previously downloaded copy of macOS Sierra, it asks us to format and once finished we only have to put the administrator password and press continue. Now we have to wait for the installation process to finish on the 8GB USB if it takes a little quiet, it is normal. In no case will we close the program, disconnect the USB or turn off the equipment. Once finished an error message may appear but no problem, we can start the installation process on our machine.
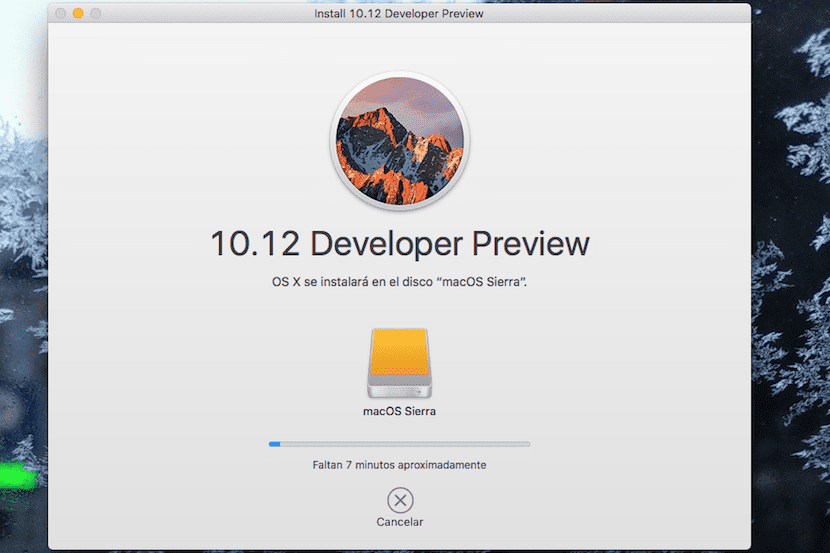
The installation is very simple and once the DiskMaker X process is finished we can go to the installation on Mac. To begin the process is as simple as turning off the Mac with USB connected and just at the moment of starting we hold down the Alt key To make the start menu appear, we select the USB memory where we have the MaOS Sierra installer and press.
Another option that can also be used to launch the installer It is when the process has finished, we choose in the System Preferences> Boot Disk, here the macOS Sierra installer appears and clicking on it starts the process.
Again remember It is the first beta version of the Mac operating system and although it does not seem to show any major problems or bugs, it is always advisable to wait for the final versions of the operating system to launch an update.
Has anyone tried it? How stable is it etc ...?
In principle I am testing it since yesterday and it is quite stable. Right now I answer you from the partition with macOS Sierra but I need more time to say if it is stable or not ...
regards
Is there another way to install it without having a USB stick?
If there are more options to install it, one of them is via terminal but you also need a USB stick 🙂
Ok thanks, taking into account that I already have the USB, is this the correct way to install it from scratch?