If nothing prevents it, it is really likely that tomorrow at this time millions of users will be downloading and installing OS X Yosemite 10.10 on our Macs for this reason, today we bring you some simple tips to have everything ready and make the best possible installation.
1. What is left over, to the trash
Surely since the last time you did a clean installation of OS X on your Mac you have accumulated a lot of files, photos, screenshots, etc. that are still around, somewhere, taking up space that you could dedicate to better things or, simply have it available.
And why talk about all those applications that you installed and do not use, the ones that you simply eliminated by taking them to the trash but that have left you "remains" scattered around.
Well, it's time to get rid of all that. You can do it manually but it is best to use an app like clean my mac (It is the one I use) and from there do a general cleaning, uninstall applications and extensions that you do not use completely or look for those large files that you do not use and that could be better on an external hard drive.

Get your Mac ready for OS X Yosemite. Delete unnecessary files and apps
2. Repair the permissions
This task, which we should do from time to time, is highly recommended, especially when updating our Mac to OS X Yosemite. Go to Disk Utility from Spotlight select your disk and click on "Repair disk permissions."
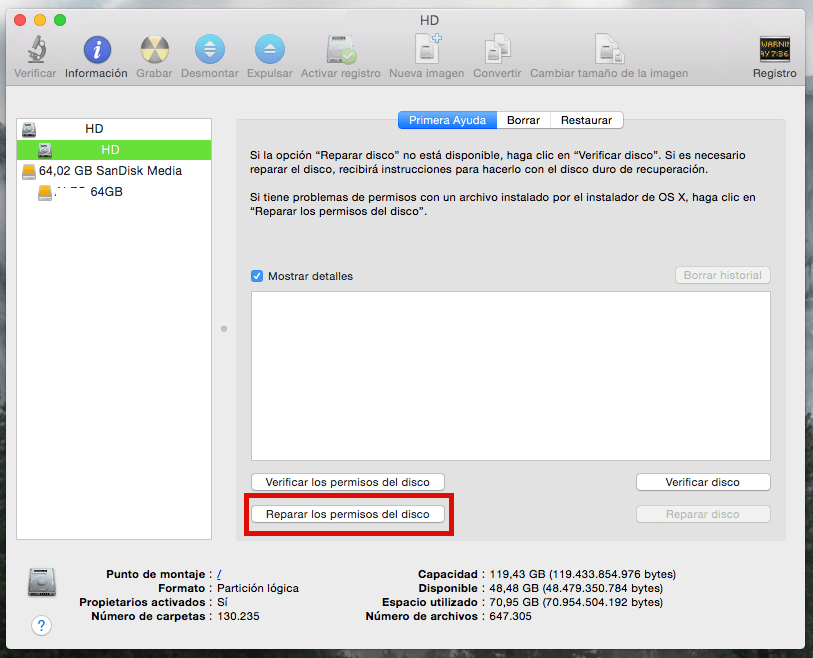
Get your Mac ready for OS X Yosemite. Repair permissions
3. Make a backup with Time Machine
Although OS X It is very safe and, personally, I have never lost a file when updating the operating system, it is never too much to take precautions so make a backup with time Machine of the entire system, just in case, once you have cleaned, repaired permissions and put each file in its proper place or where you want it to be.
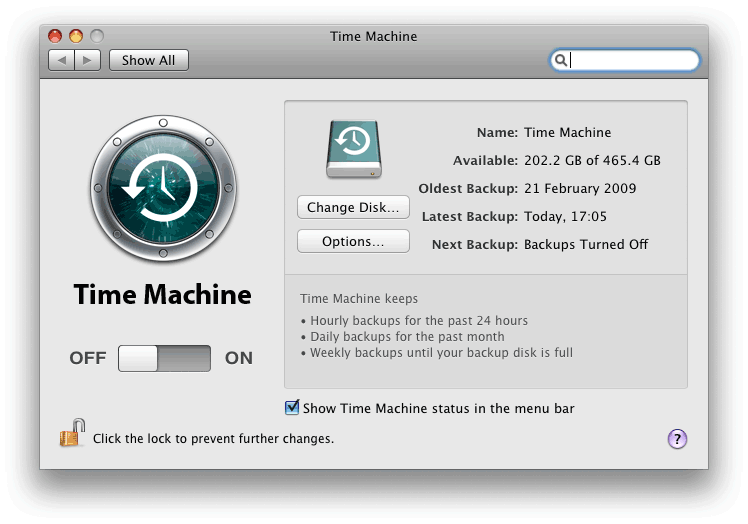
time Machine
4. Check the compatibility of your essential apps
Although, personally, I have not been given the case since I worked with the OS X Yosemite beta, when you have done all of the above, do not forget to check that those essential apps for your work are compatible with OS X Yosemite. For this, the best thing is to go to the official website of each of these apps.
One more thing ...
Once you've upgraded to OS X Yosemite, you may prefer a highly recommended fresh install. Trust me, you will gain considerable disk space and your Mac will "fly". If you want to know how to install OS X from scratch we leave you the answer here although we will update it soon with the new information so stay tuned.
Hello, one question, do you know why CleanMyMac deleted all the apps that come by default? I had to load the OS for them to work. thanks
The diskMaker gave me an error every time I tried to mount it on the pendrive and 2 pendrives were loaded ... WARNING!
Cleanmymac is for that only ... The other automated steps like freeing memory for language packs or "smart" things it does are not very safe if you don't know what you are doing, for example if you delete languages in adobe flash cs6, it stops working so watch out for this
The other, the permissions that you say are all ok until snow leopard, but from lion that the utility does not repair user permissions, only global ones, that is why they must restart the mac with the cmd + r keys to enter the mode of restoration, then from the tools open a terminal window and execute the resetpassword command ... Then in the window that opens we select the disk, then the user, but instead of resetting the user's password we press accept below where it says restore permissions and access control lists ... This solves several details such as problems with the spotlight (that is if the first time you leave it will reindex everything so be patient)
I hope the info will serve you, greetings 🙂