El MacBook Air It is an incredible device however it suffers from a sometimes significant deficit: the limited capacity of its SSD. Many of us have the 64 GB model and the time may come when we consider either changing it for the 128GB model, or purchasing an external hard drive to carry our heaviest files. Both options have their drawbacks: in the first case, the considerable financial outlay; the second option, although cheaper, will mean having to carry that external hard drive everywhere.
When my MacBook reached 9GB free I considered freeing up space based on two conditions: (1) I was not going to give up any file of any kind, and (2) I was not willing to go with a hard drive from here to there (the option to change my device for another it is evident that I did not even consider it).
Next I am going to tell you how I started to have 35 GB free from the initial 9 and at a cost of just € 15. You can carry out all or only some of the following steps, completely independently, and depending on your own needs, so do not forget that this is my personal experience.
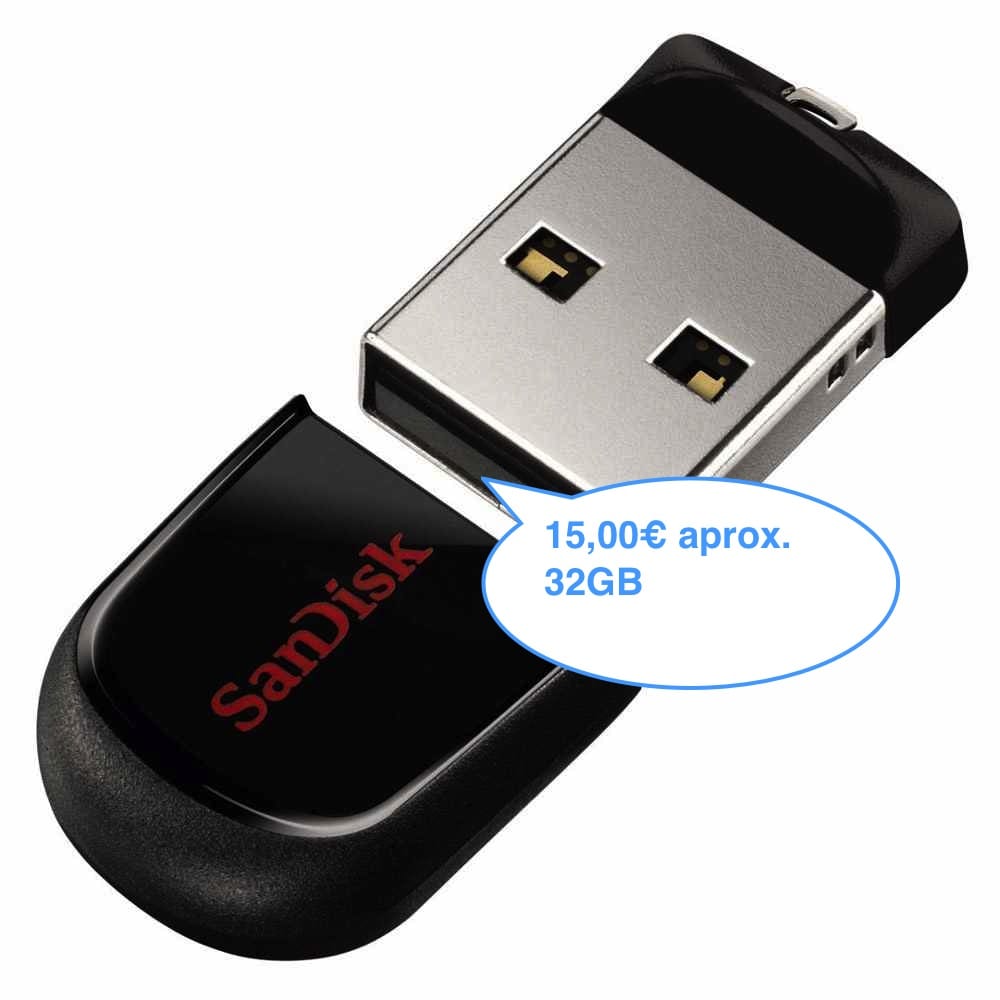
The first thing would be to buy a USB memory, one of the "nano" ones, which you can always have connected to your Mac without even realizing it. In my case, I bought the 32GB SanDisk brand model for € 14,90 at Carrefour; I have recently seen a similar 64 GB model for about € 37 on AppInformática. Choose what suits you best, but look carefully because the difference in prices between stores is sometimes exorbitant. By the way, "you're welcome Carrefour and AppInformática for the free publi" haha
The steps that we are going to follow are:
- Clean installation of OS X Mountain Lion from the latest version available, in my case 10.8.4, and transfer of our latest backup from time Machine.
- Transfer of our Dropbox folder (or similar) to our new USB.
- Transfer of our library iPhoto to our new USB.
- Transfer of our library iTunes to our new USB.
With this, we will have freed from our Mac all the space occupied by the mentioned applications, in addition to having eliminated all the remains of previous versions of OS X.
Some of what appears in this tutorial is collected on other web pages. What I have done has been to unify it, simplify it to simple language and explain it based on my experience so that you can all benefit from something that has been very positive for me.
1.CLEAN INSTALLATION OF OS X.
This is perhaps the “heaviest” phase, not because it is complicated, but because it requires a long wait.
What do we need?
- a USB stick of at least 8GB
- back up with time Machine Or by copying all our files that we want to keep on an external disk and then transfer it again.
- download Lion Disk Maker from the link http://blog.gete.net/lion-diskmaker-us/
- download from Mac App Store the latest version of OS X
And then:
1.We connect an 8GB USB, open Lion DiskMaker and we follow the directions it will give us.
2.Once the bootable USB is created, we restart our Mac holding down the ALT key, and we choose to restart from the installer that we have created.
3.Already open the installer, we select "Disk utility", We select the partition we want to delete, we go to the" Delete "tab and delete.
4.We leave from “Disk Utility"And select"Reinstall Mac OS X”. The installer will guide us step by step, including the backup dump from time Machine if we want it.
And since seeing it is better than reading it, you can follow the following simple video tutorial by Suilrrr111 that guides you step by step through the entire process.
http://www.youtube.com/watch?v=WLADBE9mKg0
NOTE: I recommend creating the boot disk with the application Lion DiskMaker, much faster and, above all, simple. It works perfectly, although both methods are equally valid.
2. TRANSFER FROM OUR DROPBOX FOLDER TO OUR NEW USB.
Well, once we have reinstalled our system from scratch and dumped, in your case, the last backup of timemachine, we will check that in our Mac There has already been much more free space, in my particular case I went from 9GB to almost 18GB:
The next step will be to move our Dropbox folder to the new USB that we are going to have connected. For it:
- We close the Dropbox application.
- We create a new folder on our USB that we will call Dropbox.
- We copy all the contents of the initial folder to the new folder located on the USB.
- We delete the original Dropbox folder.
- We open the Dropbox application and follow the steps just like we did the first day.
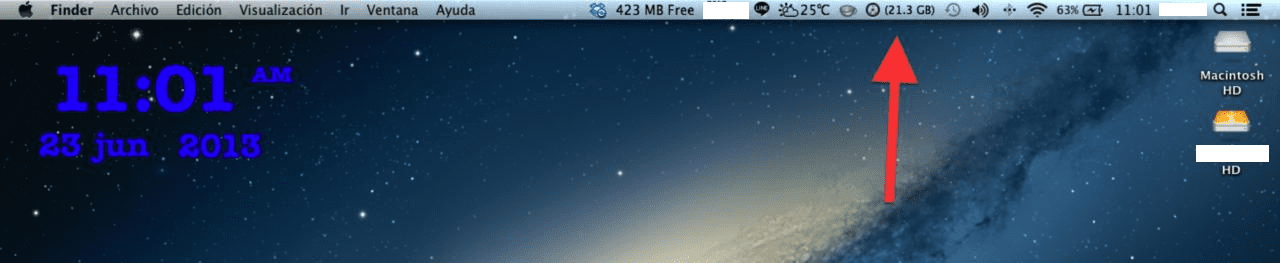
Again we have gained more space on our Mac, in my case it was almost 4 GB, and now my Dropbox folder is synchronized directly from my USB and I already have more than 21GB free on my MAC.
3.MOVE OUR iPhoto LIBRARY TO OUR NEW USB.
The process to follow this time is similar to what was done with the Dropbox folder:
1.With the app iPhoto closed, we go to the Images folder and copy the file "IPhoto Library" on our new USB.

2.We delete the original file from our Mac.
3.Open iPhoto and a window will appear where we will choose the new location
Hereinafter iPhoto will work exactly the same as before, but without taking up space in our Mac.
4.MOVE iTunes TO OUR NEW USB.
In this case, we will win back a considerable space, especially if we have an important music library. Everything we have in will be moved iTunes (music, podcasts, videos, iOS applications, eBooks). The method is simple and practically similar to what is done with Dropbox and iPhoto:
1.With the app iTunes closed, we go to the Music folder and copy the folder iTunes on our USB stick.

2. We delete the original folder.
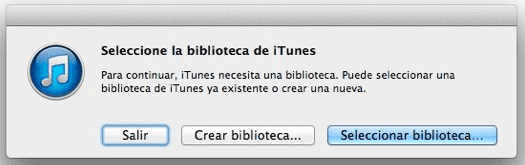
3.Open iTunes holding down the Option fabric (ALT). A dialog box will appear from which we can select the library to use from now on. We locate the folder iTunes now located in our USB memory and Done !!!
From this moment everything iTunes It works from the USB memory, including synchronization with our devices iOS, and we will have gained all the space that previously occupied in our MAC
Everything has worked wonderfully for me, not the slightest problem and, as you can see in the following screenshot, my MAC went from the 9 GB free it had at the beginning, to 35 GB, that is, more than half the Mac free.

You can remove the USB whenever you want but of course, to make use of everything you have transferred to it, in this case Dropbox, iPhoto and iTunes, it is essential that you have it connected. I never remove it, because I don't need the USB port, I just connect a hard disk for copies of time Machine, and for that I have the other port. But I have done the test and it has not given me any problem.
NOTES: remember to include your USB in the next copy you make with Time Machine to have a backup of everything transferred to it.
And remember to empty the trash when you delete the initial files from Dropbox, iPhoto y iTunes.
I hope this tutorial is useful for you and if you liked it, don't forget to share it on your social networks.
What if I don't have a Time Machine? I am desperate because my MacBook Air keeps telling me that the startup disk is full, but I have almost no documents or anything like that ...
If you don't have a time machine, I recommend from experience the CleanMeMac or something like that, maybe it will clean 5-6Gb but on MacBook Air disks it's enough, Greetings!
Pd: it is paid, but searching in google you can find it hehe
Hi Tomcat. If you don't use Time Machine, you can always copy all your things to a hard disk and, after reinstalling OS X, copy them again and download the applications that you previously had installed. I remind you that you can use Time Machine with any hard drive, you just have to configure it. In fact, I use an INTENSE brand (I think, because I don't have it in front of me now) that I found cheap on Amazon.
A greeting.
I'm about to go to an Air, I wanted to know how it influences you on the battery, the fact of having as an extra disk, a USB in most of the time connected. Does it greatly reduce its performance? Thanks.
I have a huge library on an external disk with all my music that I have been transferring from CDs and I wanted to make a backup copy, because I don't like saving everything on a single disk, how could I do it? They are 600Gb between one thing and another: covers etc.
Thank you.