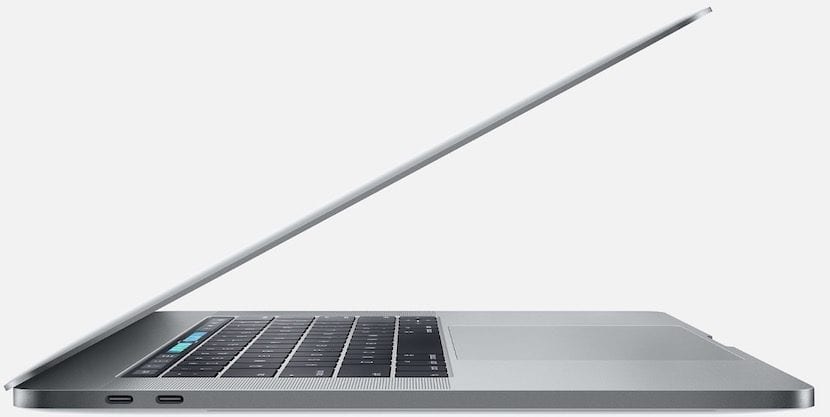
I have been using Apple computers for many years but until today I had not seen myself in the situation of needing to convert my precious little one 12-inch MacBook on a desktop computer.
In my workplace, having to have the computer in a domain and only being able to do that with computers that run under Windows (not only because of the security guidelines that they impose but because of the applications that have only been written for Windows), I I have seen in the situation of need a whole Mac in my office without having to buy a new computer.
The quickest option has been to search a good quality 21 inch screen connect to the laptop I already own and run the MacBook in closed screen mode. Already our partner Karim spoke to us very above a few years ago and now I'm going to explain it in more detail.
By this, what I mean is that if I connect the external screen to the MacBook, I neither want to use the keyboard and trackpad of the laptop nor do I want the laptop to be with the screen open.
The most comfortable thing is that I connect the laptop to the screen, that it has a bluetooth keyboard and mouse and that the laptop's lid is closed. This way I would put the laptop next to the screen and I would enjoy a desktop Mac through a MacBook.
All this has already been thought by Apple and has created, for a long time, a way to be able to have the lid of the laptop closed and that it continues to work in the same way. To do this, you must follow the following steps, although first you must bear in mind that there are minimum requirements. To use closed screen mode on your Mac laptop, you need:
- An AC power adapter
- An external keyboard, mouse or trackpad, with USB or wireless
- Un USB-C to USB adapter if you are using a USB keyboard or mouse with a MacBook (2015 and later) or MacBook Pro (2016 and later)
- An external display or projector
Once you have all the above prepared, the steps to follow are:
If you use a USB keyboard and mouse
- Make sure the Mac laptop is plugged into a power outlet with the AC power adapter.
- Connect a USB keyboard and mouse to your Mac.
- Connect your powered-on Mac (with the display open) to the appropriate port on your external display or projector and turn them on.
- When the desktop of your Mac laptop appears on the external display, close the computer lid.
- When you close the lid:
- In OS X Lion 10.7 and later, the external display will turn blue and then display the desktop.
- In OS X 10.6.8 Snow Leopard and earlier versions, you can wake up your Mac by clicking the mouse button or pressing a key on the external keyboard.
You should now be able to use your Mac laptop as you normally would, with a USB keyboard and mouse.
If you use a wireless keyboard and mouse
- Make sure the Mac laptop is plugged into a power outlet with the AC power adapter.
- Check if Bluetooth is turned on via the Bluetooth pane of System Preferences or via the Bluetooth menu icon
.
- Pair your Bluetooth keyboard or mouse with your Mac.
- In the Bluetooth pane of System Preferences, click Advanced and make sure the check box next to Wake up my computer using Bluetooth devices is selected.
- Connect your powered-on Mac (with the display open) to the corresponding port on your external display or projector and turn them on. Use an Apple video adapter, if necessary.
- When the desktop of your Mac laptop appears on the external display, close the computer lid.
- When you close the lid:
- In OS X Lion 10.7 and later, the external display will turn blue and then display the desktop.
- In OS X Snow Leopard 10.6.8 and earlier versions, you can wake up your Mac by clicking the mouse button or pressing a key on the external keyboard.
You should now be able to use your portable Mac computer as you normally would, using a USB keyboard and mouse.
- It is recommended to put the Mac to sleep mode by selecting Apple menu> Sleep before disconnecting the display.
They told me, a long time ago in a course to obtain an Apple certificate, I do not remember which one now because it was almost 10 years ago, that although it was possible it was not recommended.
The notebooks were designed, being unibody, to dissipate some of the heat through the keyboard slots. The fans circulated the air flows to the natural outlets of the aluminum box.
Well, I don't know if this information will still be valid. I mention it to you as it was explained to me.
Hello Pedro. How are you'
I see myself in the same need as you in this interesting comment. Me, on a 15 '' Mac Book Pro
I'm thinking of getting a Henge vertical support (Henge Dock), which incorporates all the connections that you expose in your article.
How about? How does it work?
I understand that the laptop would have to be configured in the same way.
Is it recommended?
Thank you very much.
Congratulations on your work, which is very instructive.
Regards,
R-
I know this article is from two years ago, but I can't find an answer anywhere, I have a MacBook Air 2018 and I recently bought an external monitor, everything works fine except for the fact that my Mac is connected to the power all the time so that the external monitor works, I don't want this and I can't find a way to fix it, is there some method or something?