
After presenting yesterday the OptiBay, today was the fun day of OptiBay, since the installation is usually the most enjoyable for those of us who like to tinker ... so let's get started.
Opening the patient
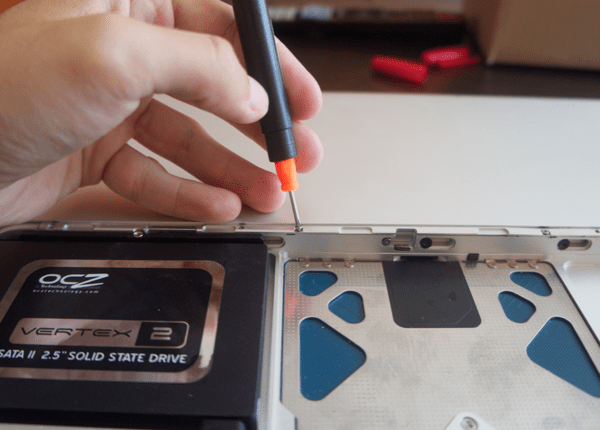
The first thing to do is remove the battery and the battery cover, to later remove one by one the eight screws that hold the aluminum plate to the main structure of the MacBook. A really simple task and for which we will use the thin part of the screwdriver that comes in the pack OptiBay.
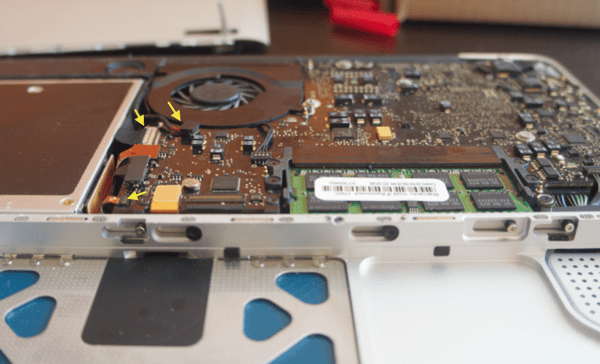
Once we have removed the plate what we find may scare someone, but do not panic. We must remove the speaker (in the case of my MacBook, not in the Pro), the connectors that I have indicated in the image and also all the screws that hold the SuperDrive to the structure. In the image you will see it much clearer almost certainly.
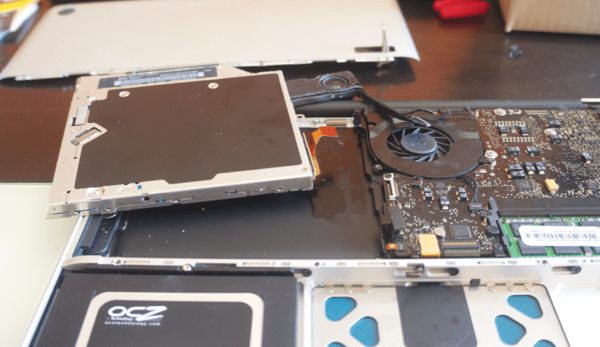
Now we have to remove the SuperDrive from its hole and replace it with the OptiBay, something that is done very naturally since obviously they share exactly the shape and the latter fits perfectly.
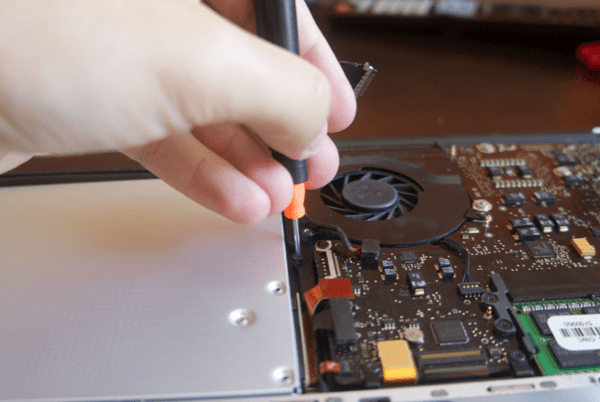
We must change the connector to the plate between both devices and screw the screws that we removed before (be careful because the one on the right is longer). By the way, I recommend taking the opportunity to do a general cleaning to the hob and in particular to the fan.
Once we have it ready, we put the connectors back on the board without forgetting anything -that reopening is a bummer- and we will be ready to close the MacBook and enjoy OptiBay.
And that's all for today. For tomorrow we leave part 2 with the installation of the SuperDrive in the external case and the integration of the OptiBay hard drive in the system, so don't fail us.
Very interesting article. Is there something similar for the 27 ″ Imac ????
To my knowledge, there is no optiBay. But I don't know if the iMac 27 ″ will have two hard disk slots ...