Indeed, the Preview option in OS X has many possibilities beyond just image previews or photographs. You can edit the color, select parts that we want to eliminate from the composition or insert all the necessary elements to create organization charts at a basic level.
The truth is that it can be considered a versatile and very useful tool, for example if you want to get your signature from a scanned document, suppress the background, that is, that it is not white after the signature and thus be able to save it to insert it in other documents perfectly.
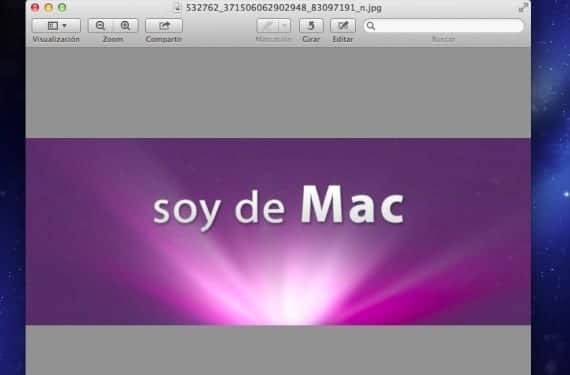
To start using Preview as an editing program and create transparency, we must activate the editing toolbar that can be found by clicking on the edit button of the menu integrated into the window.
Here we have several options to remove the image background and make it transparent, from the simplest ones like Elliptical and rectangular selection even the most "intelligent" Instant Alpha that will hurry more the soft caresses. You can try all these options to carry out the work of eliminating the background of the image as much as possible, once we have selected the contours that we want to eliminate, we just have to press Delete.
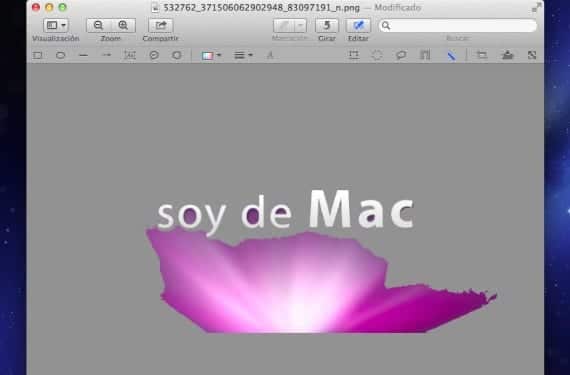
In the upper image I am trying to eliminate the entire background to keep only the letters and be able to insert them in another background or simply keep the font with its design. The final step is to rush with these options until we get exactly what we are looking for, this can be extrapolated to any image of course.
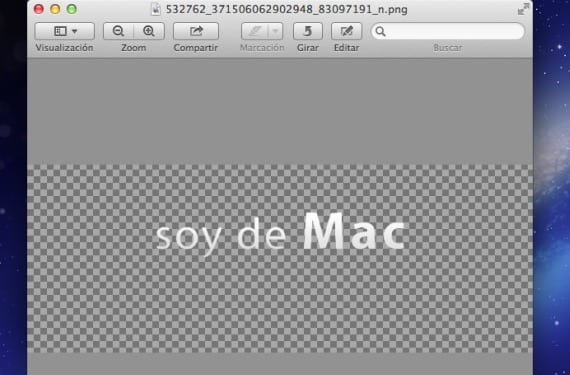
Once we obtain the final result we want, we can insert the result in another blank canvas or in another image open by preview to edit the final composition that we will obtain.
To get a completely blank canvas or better said transparent of the size we want, we simply have to press this keyboard combination Shift - Ctrl - CMD - 4 and thus choose the area we want to get a screenshot as it will be saved to the Clipboard.
The next thing is to open Preview from applications and press CMD + V to paste the image, then CMD + A to select the entire area of the image and finally press delete, at that moment We will already have another transparent canvas to be able to insert the image already worked previously, in addition to others that we have or want, optionally you can use the option of Display - Show image background to see a kind of chessboard that will mark the area that the image occupied.
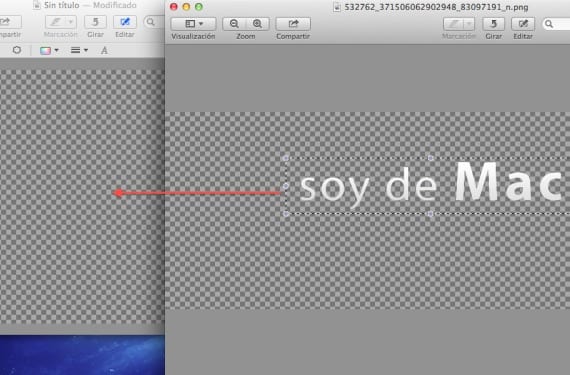
The downside is that once the image is inserted in the "new blank canvas" or in another composition, if we press CMD + V, we paste it and modify its size or whatever we want to edit, if we release the mouse we will no longer be able to modify it so we must be with edit - undo or CMD + Z Until we get what we are looking for, it is a bit cumbersome but the results are decent.
More information - Manage PDFs at will from preview and scanner utility
Source - Cnet
Crazy, I used Photoshop just for that when I had the tool on my own MAC, I'll try it.
Excellent contribution, thank you very much.
My Preview does not have the option to edit, I already looked at the option to customize the toolbar and it does not have an edit tool or icon, I have Mac OS X version 10.6.8 and Preview Version 5.0.3